To configure GreenBow IPsec VPN Client with a TP-Link VPN router, follow these steps:
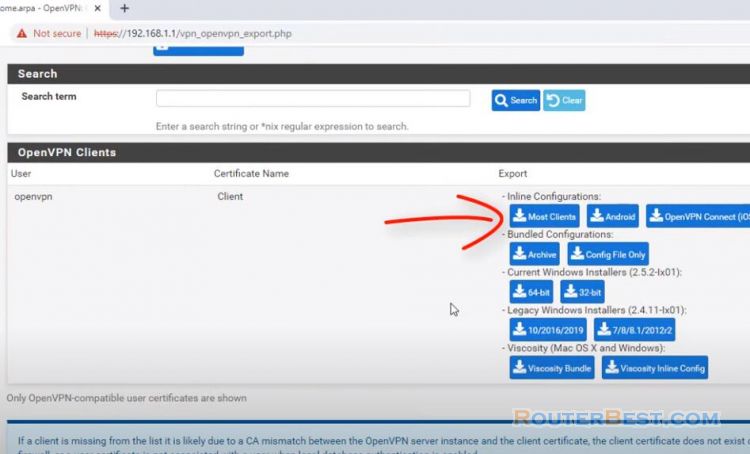
Download and install the GreenBow VPN Client software on the client computer.
Open the GreenBow VPN Client software and click on the "Configuration" button.
Click on the "New" button to create a new VPN configuration.
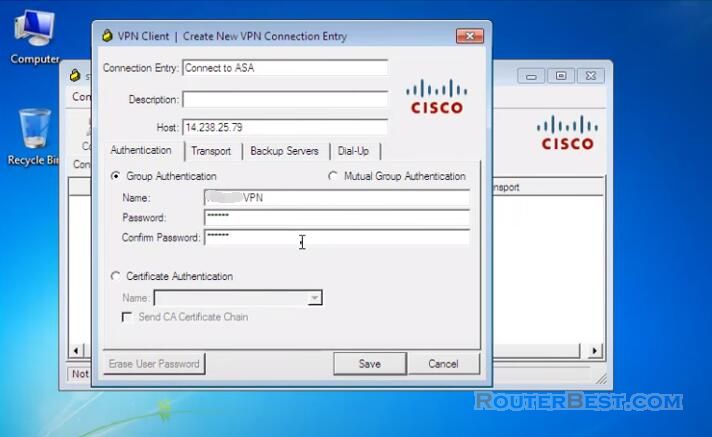
Enter a name for the configuration and select "IPsec" as the VPN protocol.
Enter the IP address or hostname of the TP-Link VPN router in the "Remote Gateway" field.
Select "Pre-shared Key" as the authentication method and enter the pre-shared key that was configured on the TP-Link router.
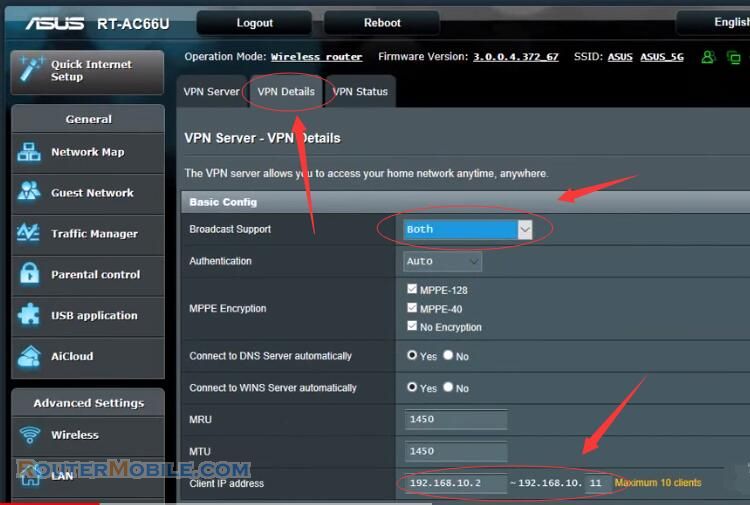
Enter the IP addresses of the local and remote LAN subnets in the "Local Network" and "Remote Network" fields, respectively.
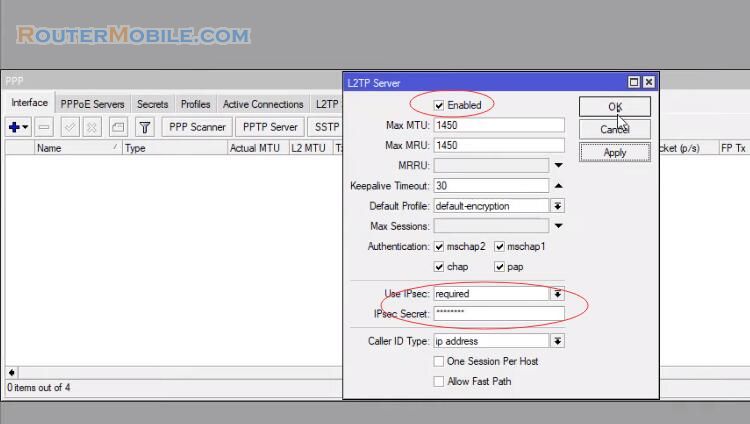
Configure the "Phase 1" and "Phase 2" settings according to the settings that were configured on the TP-Link router.
Click on the "Save" button to save the VPN configuration.
Click on the "Connect" button to connect to the VPN.
Note: The exact configuration steps may vary depending on the model and firmware version of your TP-Link VPN router and the GreenBow VPN client software version. It is recommended to refer to the user manual or the TP-Link website for specific instructions for your router model and the GreenBow website for instructions on the VPN client software. Also, ensure that the firewall rules on the router are properly configured to allow the VPN traffic.
Facebook: https://www.facebook.com/routerbest
Twitter: https://twitter.com/routerbestcom
Tags: VPN