Hello everybody, today we perform the TP-LINK TL-WR840N wifi router setup.
First use a LAN cable connected between the computer and wifi TP-LINK via 1 of 4 LAN ports.
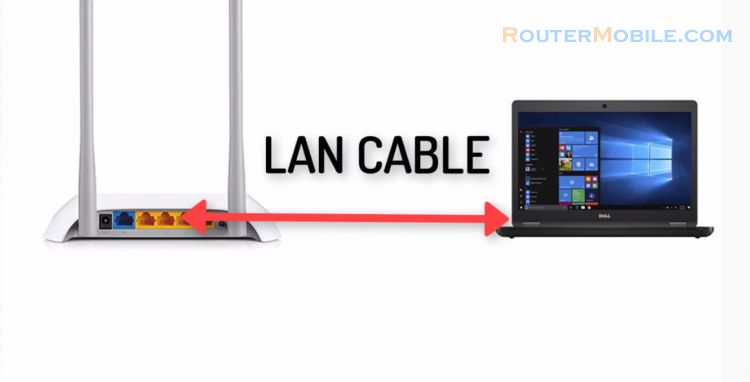
The installation steps are as follows:
The management panel of TP-Link wireless N router TL-WR840N
1. Open a web browser.

2. Enter the ip address of TP-LINK TL-WR840N wifi router: 192.168.0.1, and Enter. If you cannot login using ip 192.168.0.1 address, you can log in with http://tplinkwifi.net.
3. Both username and password are admin.
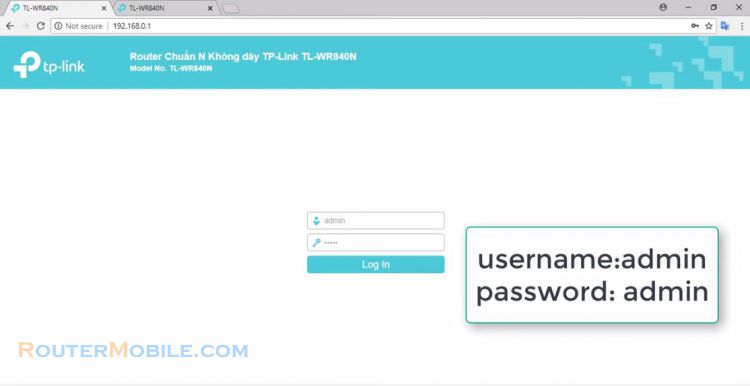
4. Logged in successfully.
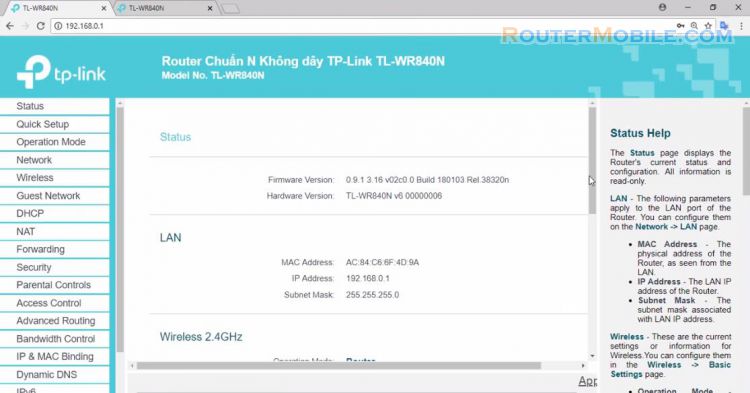
5. Select the setting mode for TP-LINK TL-WR840N router. TP-LINK TL-WR840N router has 3 mode settings: Wireless Router, Access Point, Range Extender. We usually set it to "Wireless Router" mode. If any changes, click "Save".
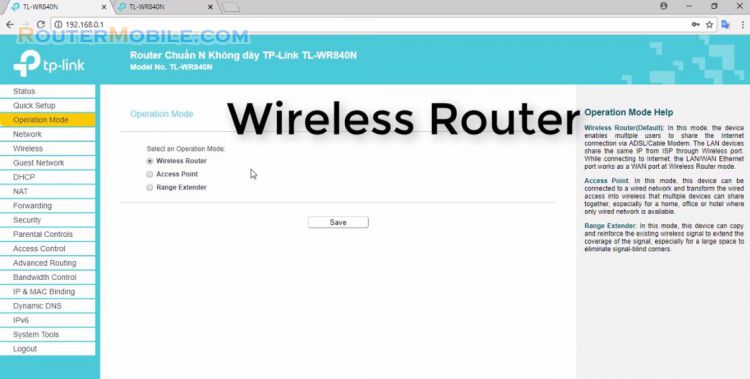
The next step is to install the Internet.
Install the Internet
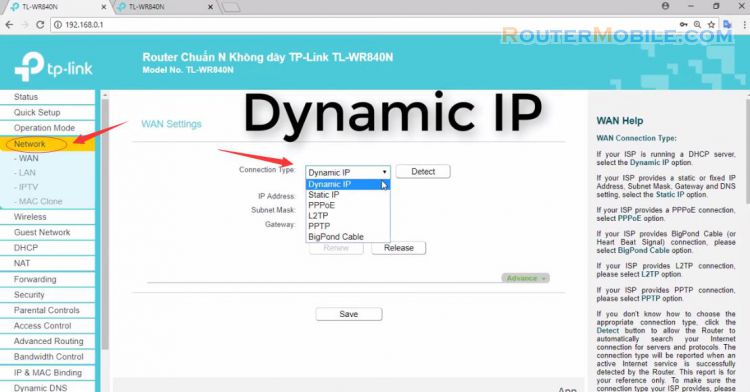
Select "Network >> WAN".
There are 6 ways to install the Internet: Dynamic IP, Static IP, PPPoE, L2TP, PPTP, BigPond Cable. Usually we choose Dynamic IP. Connection Type: Dynamic IP. Click "Save" to save the settings.
Next is to wireless settings.
Wireless Settings
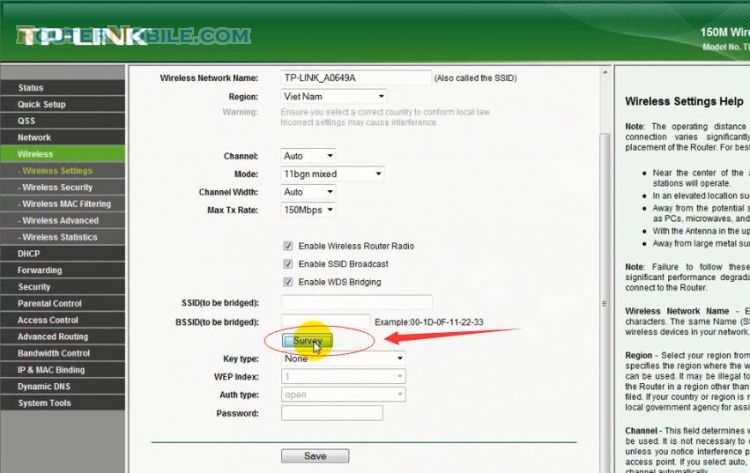
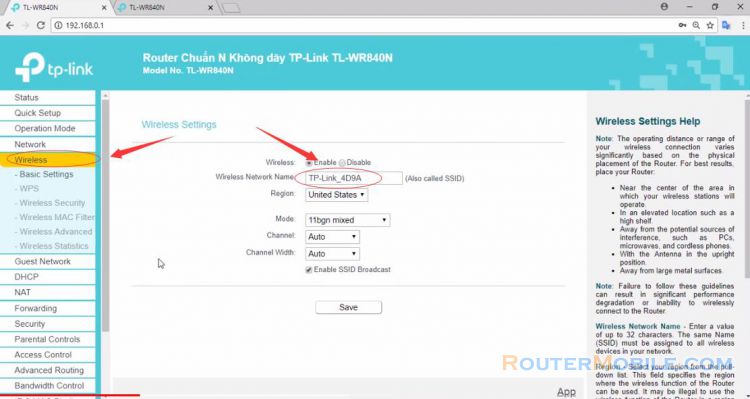
Select "Wireless >> Basic Settings" and set wifi network name in "Wireless Network Name". You can change it into the name you want, for example: "TP-Link_RouterMobile" or "RouterMobile.com".
Next is the wifi password setting.
Wifi Password Setting
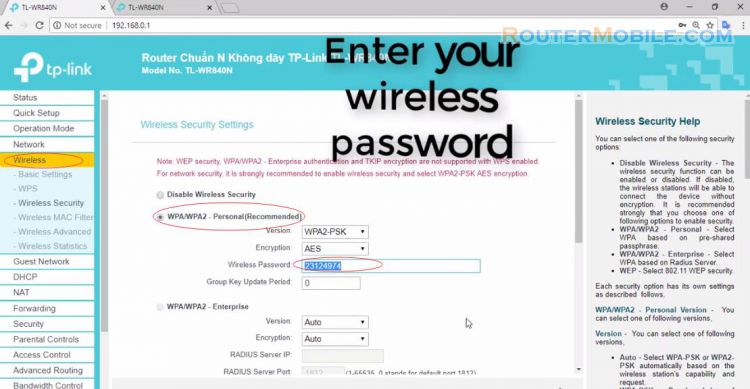
Select "Wireless >> Wireless Security". Choose "WPA / WPA2-Personal" and setup password in the "Wireless Password" box. The password you want to set should be a combination of numbers and letters, preferably not pure numbers.
Use a LAN network cable to connect the WAN port to the Internet modem.
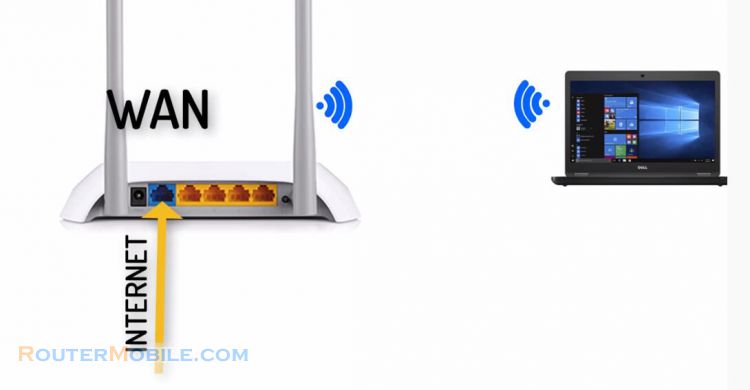
After you've finished connecting the network, try connecting to wifi. If you can access the Internet normally, your TP-Link wireless N router TL-WR840N has been installed successfully.
Facebook: https://www.facebook.com/routerbest
Twitter: https://twitter.com/routerbestcom

