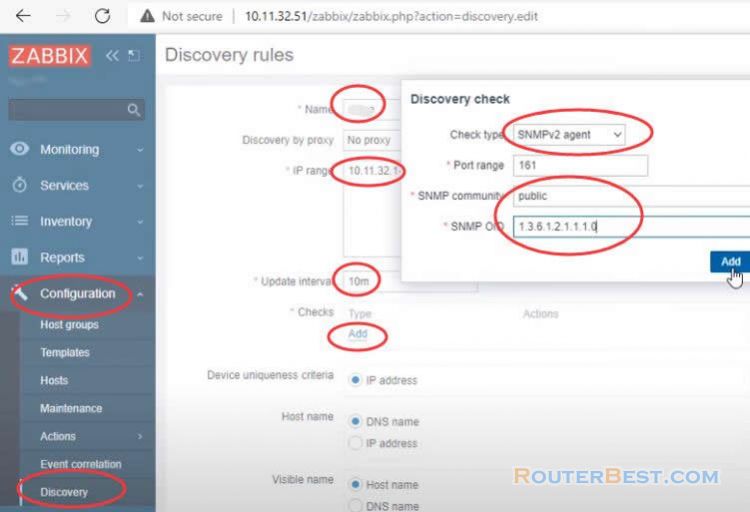
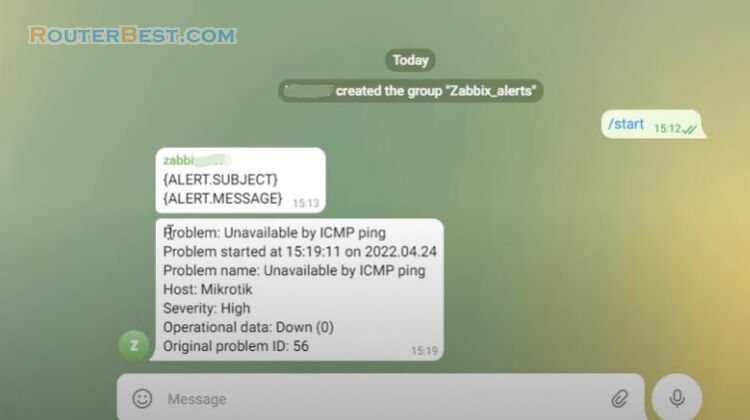
This article explains How to Install Zabbix on Windows with Docker Desktop. Zabbix is a free and familiar network monitoring tool with full features. To use Zabbix we usually install it on a virtual machine or on a separate linux machine. But with how to install Zabbix on Docker, you will be able to use this network monitoring tool right on the Windows operating system and moreover it takes up very little of your computer resources.
Let's get started. To install Zabbix on a Windows computer we need to install Windows Subsystem for Linux, Docker and finally Zabbix.
Install Windows Subsystem for Linux
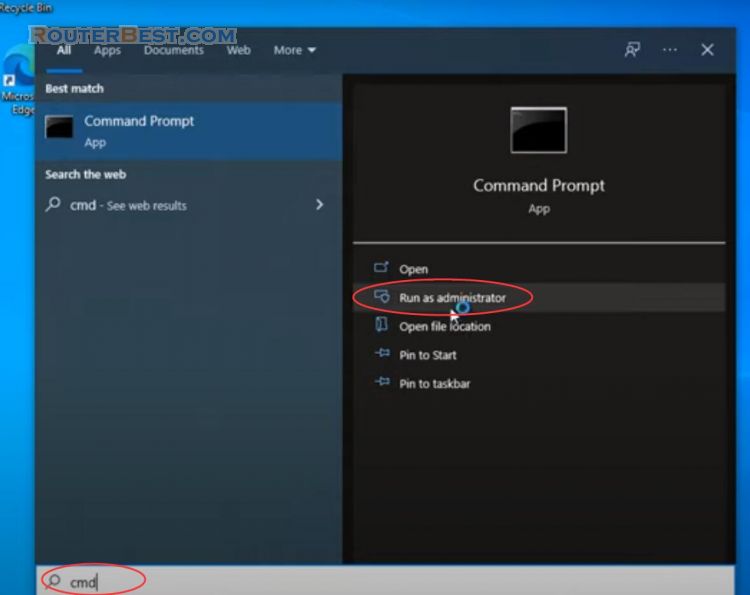
Search "cmd", click "Run as administraor" to open command window.
Run the command as follow:
wsl --install
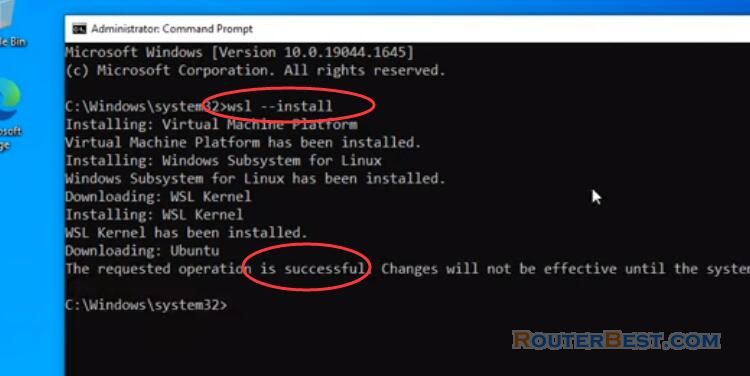
After installing WSL, you'll be asked to restart your computer. So your computer has met the necessary requirements to install Docker desktop.
Install Docker desktop
Next, go to Docker's homepage and download the installation file for Windows operating system.
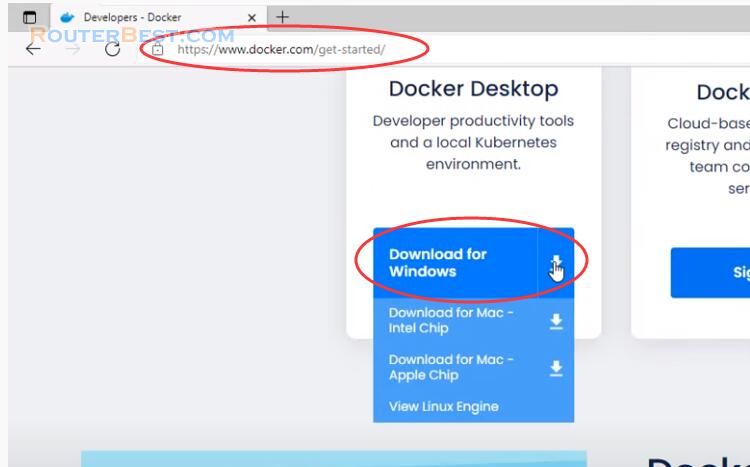
You open the installation file and perform a few more mouse clicks to complete the installation of Docker Desktop. To ensure a successful Docker Desktop installation, your computer also needs to have virtualization enabled.
Most computers at the moment support virtualization. If your computer does not have virtualization enabled, see the instructions on the homepage of the computer manufacturer you are using to know how to enable it. So, after about 5 minutes of installation, I finished installing Docker Desktop for my Windows computer.
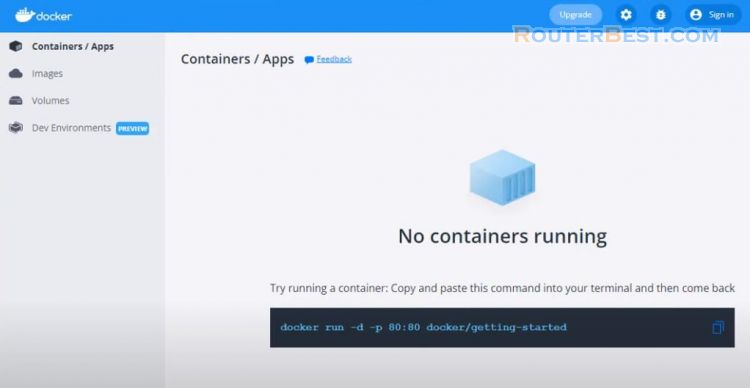
I will temporarily close the Docker Desktop window to move on to the next step of installing Zabbix.
Install Zabbix
Instructions for installing Zabbix on Docker can be easily found on the Zabbix homepage. You visit the Zabbix homepage and navigate to the Zabbix Containers section, then read the installation instructions. If you want to learn more, you can read the entire document.
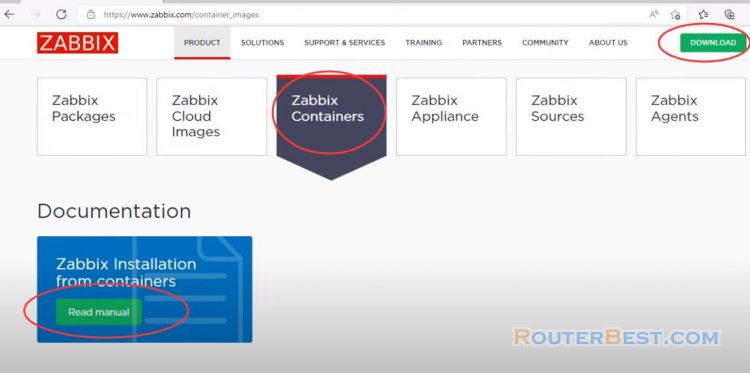
In addition, here also provide you with 3 specific examples. In this article I will guide you to install Zabbix on Docker using the 2nd example.
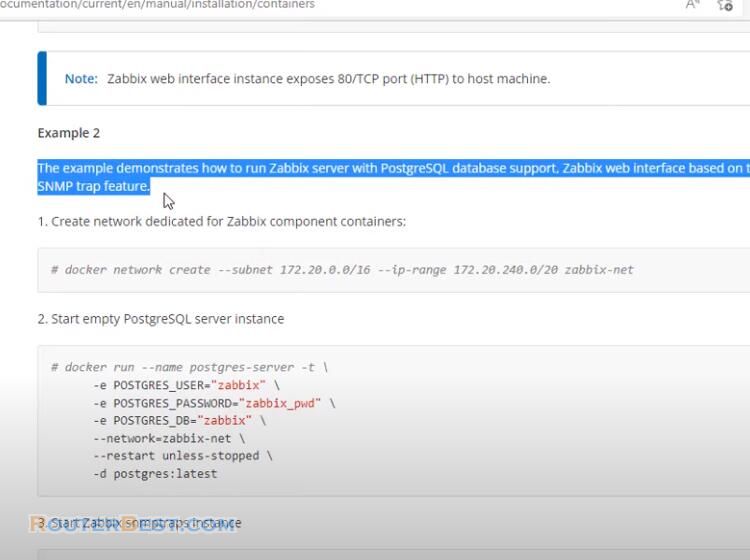
Your first step is to create a private network for Zabbix. This network is called zabbix net, it is used to link the containers of the components that can be linked together to create the final Zabbix application.
docker network create --subnet 172.20.0.0/16 --ip-range 172.20.240.0/20 zabbix-net

Next you create the first container which is the database container. You can customize the database name, username and password if you want. To make it easy for you to follow, I will not change the default information.
docker run --name postgres-server -t \
      -e POSTGRES_USER="zabbix" \
      -e POSTGRES_PASSWORD="zabbix_pwd" \
      -e POSTGRES_DB="zabbix" \
      --network=zabbix-net \
      --restart unless-stopped \
      -d postgres:latest
After creating a container, use the docker ps command to check the results:
docker ps -a
If you receive an up message, it means you have successfully created it.
The next container is created to collect and measure information from the monitored devices to the zabbix monitoring system. To collect information from monitored devices you need the permission of the firewall.
docker run --name zabbix-snmptraps -t \
      -v /zbx_instance/snmptraps:/var/lib/zabbix/snmptraps:rw \
      -v /var/lib/zabbix/mibs:/usr/share/snmp/mibs:ro \
      --network=zabbix-net \
      -p 162:1162/udp \
      --restart unless-stopped \
      -d zabbix/zabbix-snmptraps:alpine-5.4-latest
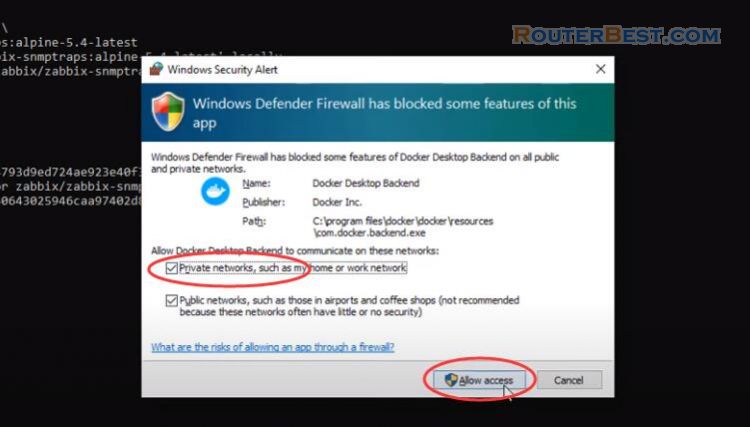
Next you create a third container which is the zabbix server container. The zabbix server container will connect to the first created database container. If you changed the information when you created the database container, then when you created the zabbix server container you need to update it accordingly.
docker run --name zabbix-server-pgsql -t \
      -e DB_SERVER_HOST="postgres-server" \
      -e POSTGRES_USER="zabbix" \
      -e POSTGRES_PASSWORD="zabbix_pwd" \
      -e POSTGRES_DB="zabbix" \
      -e ZBX_ENABLE_SNMP_TRAPS="true" \
      --network=zabbix-net \
      -p 10051:10051 \
      --volumes-from zabbix-snmptraps \
      --restart unless-stopped \
      -d zabbix/zabbix-server-pgsql:alpine-5.4-latest
And finally the final container, which will provide a web interface for you to get the information collected during tracking. This container will need the database information and the zabbix server container information. You notice the letters highlighted in red are the information to link with the previously created containers. If you just want to do a simple installation like I am doing then you don't need to change anything, and just copy as instructed and you have already installed Zabbix on Docker.
docker run --name zabbix-web-nginx-pgsql -t \
      -e ZBX_SERVER_HOST="zabbix-server-pgsql" \
      -e DB_SERVER_HOST="postgres-server" \
      -e POSTGRES_USER="zabbix" \
      -e POSTGRES_PASSWORD="zabbix_pwd" \
      -e POSTGRES_DB="zabbix" \
      --network=zabbix-net \
      -p 443:8443 \
      -p 80:8080 \
      -v /etc/ssl/nginx:/etc/ssl/nginx:ro \
      --restart unless-stopped \
      -d zabbix/zabbix-web-nginx-pgsql:alpine-5.4-latest
You open any browser and access the Zabbix monitoring system with the ip address you just found. Default username is Admin and default password is zabbix.
Next I will add two devices to be monitored to the Zabbix system. Two monitoring devices including a Windows computer and a router. Both devices have SNMP enabled.
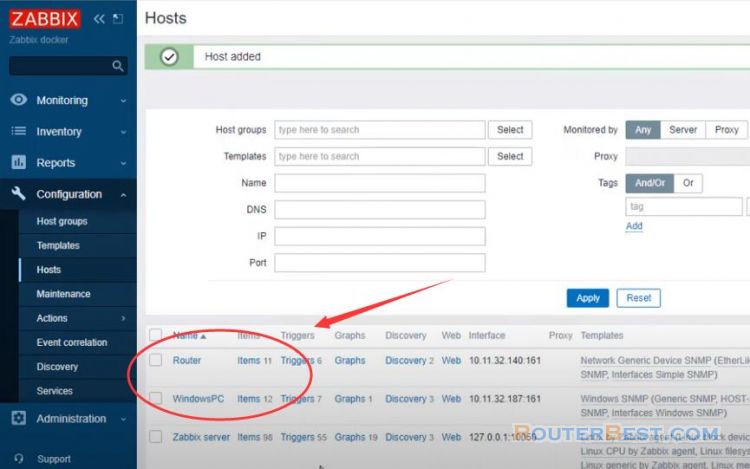
So I have finished installing Zabbix on Docker Desktop.
Facebook: https://www.facebook.com/routerbest
Twitter: https://twitter.com/routerbestcom

