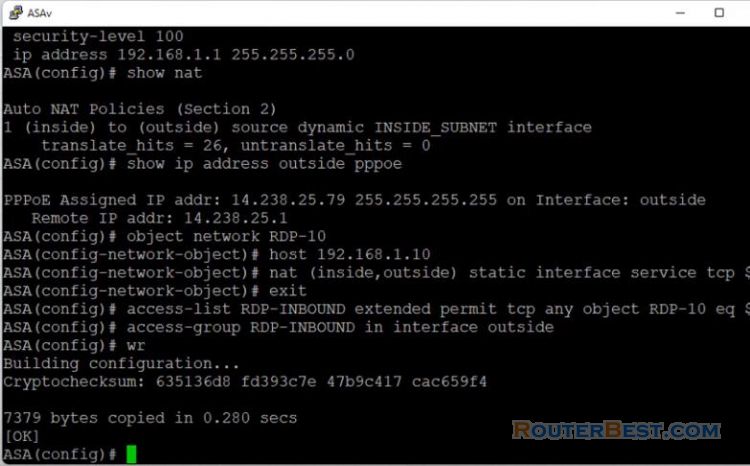
In this article I explain how to configure basic security on Cisco Asa. Your network is divided into 3 roles which are outside, inside and DMZ.
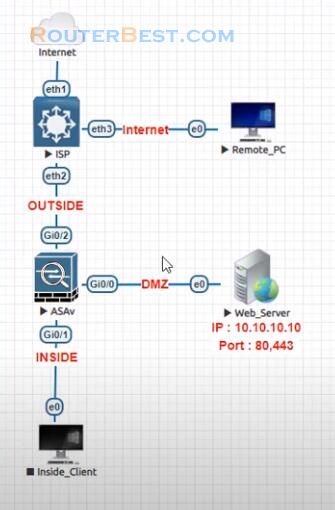
We have an example with a network with a web server. In this recipe you will protect a web server by connecting it to your Cisco ASA DMZ Network.
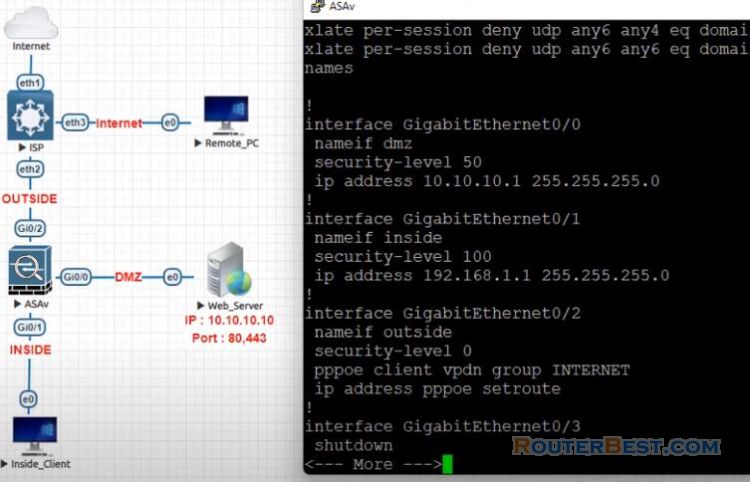
In addition to protecting the web server the DMZ also protects the rest of the network. The basic ASA configuration setup is three interfaces connected to three Network segments.
The ISP Network segment is connected to the GigabitEthernet 0/2 interface and labeled outside with ehe security level of 0. The internal network has been connected to GigabitEthernet 0/1 and labelled as inside with a security level of 100.
The DMZ segment, where the web server resides, is connected to GigaEthernet0/0 and labelled as DMZ with a security level of 50.
vpdn group INTERNET request dialout pppoe
vpdn group INTERNET localname routerbest
vpdn group INTERNET ppp authentication pap
vpdn username routerbest password 123 store-local
interface GigabitEthernet0/2
nameif outside
security-level 0
pppoe client vpdn group INTERNET
ip address pppoe setroute
no shutdown
write
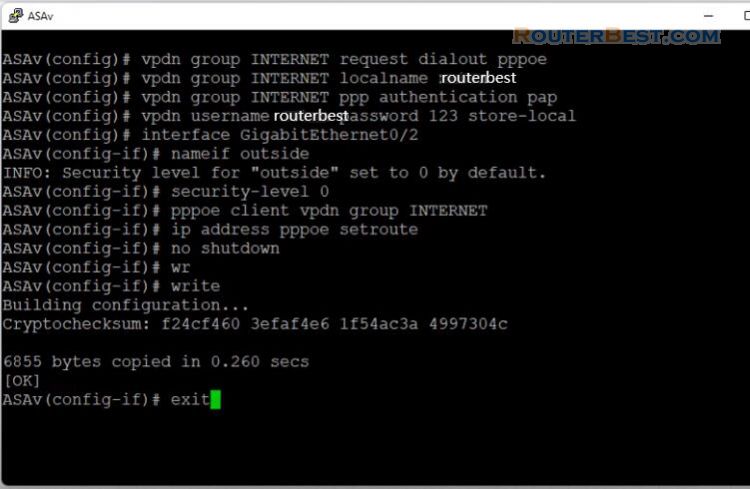
The ASA's outside interface is configured with an IP address obtained from the ISP. Here you can see that the ASA's inside interface is set with the IP address of 192.168.1.1, and it is the default gateway for the internal hosts.
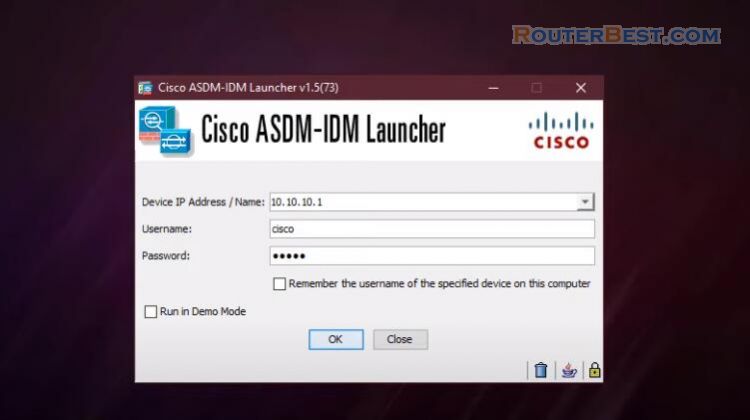
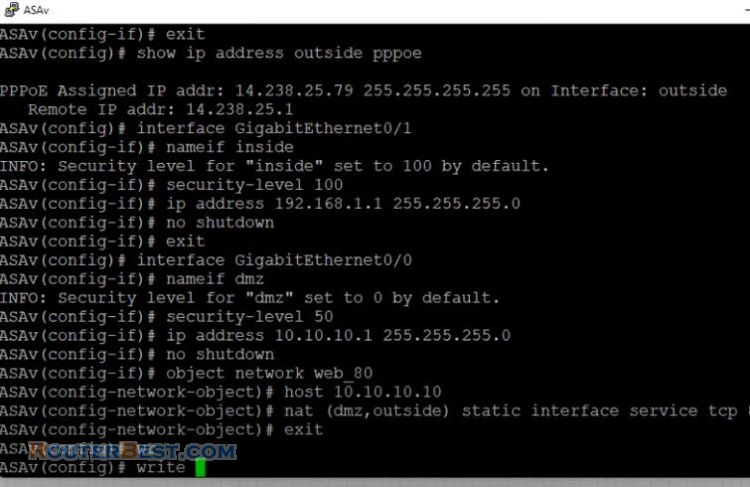
The DMZ interface is configured with the IP address of 10.10.10.1, and it is the default gateway for hosts on the DMZ network segment.
Now, you need to the configuration so that users on the Internet can access our web server on TCP port 80 and port 443. Use Object NAT for this task, and the ASA will translate TCP port 80 on the web server to look like TCP port 80 on the outside.
show ip address outside pppoe
interface GigabitEthernet0/1
nameif inside
security-level 100
ip address 192.168.1.1 255.255.255.0
no shutdown
exit
interface GigabitEthernet0/0
nameif dmz
security-level 50
ip address 10.10.10.1 255.255.255.0
no shutdown
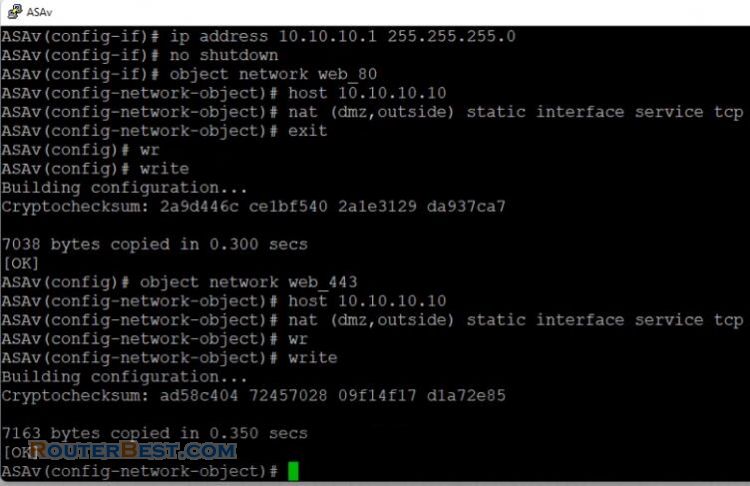
object network web_80
host 10.10.10.10
nat (dmz,outside) static interface service tcp 80 80
exit
write
Next, the ASA will translate TCP port 443 on the web server to look like TCP port 443 on the outside.
Remember, on an ASA, traffic that goes from a lower security interface is denied when it goes to a higher security interface. For that reason , hosts on the outside with security level 0 cannot connect to hosts on the DMZ with security level 50.
object network web_443
host 10.10.10.10
nat (dmz,outside) static interface service tcp 443 443
write
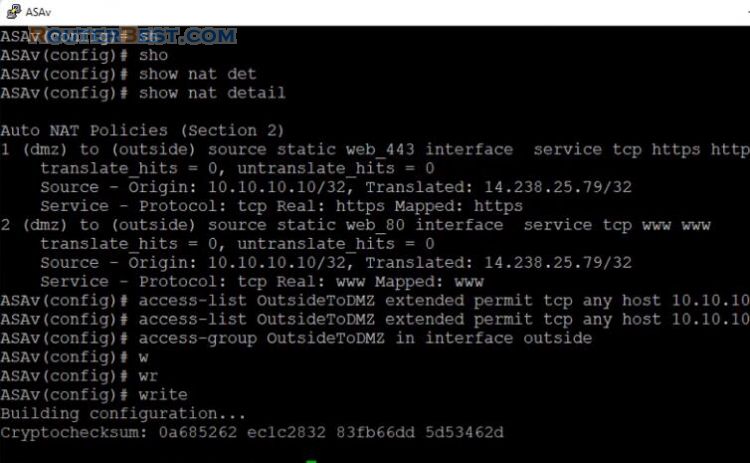
Because traffic from the outside to the DMZ network is denied by the ASA with its current configuration, users on the Internet cannot reach the web server despite the NAT configuration.
You need to explicitly permit this traffic. This means the configuration needs to permit traffic destined to 10.10.10.10 on port 80 and port 443.
access-list OutsideToDMZ extended permit tcp any host 10.10.10.10 eq 80
access-list OutsideToDMZ extended permit tcp any host 10.10.10.10 eq 443
access-group OutsideToDMZ in interface outside
Next, Configure NAT to Allow Hosts from inside segment to Go Out to the Internet.
You created that rule that allows hosts on inside segment to connect to the internet. Because these hosts use private IP addresses, you need to translate them to ASA's outside interface IP address that is routable on the Internet.
show ip address outside pppoe
object network INSIDE
subnet 192.168.1.0 255.255.255.0
nat (inside,outside) dynamic interface
write
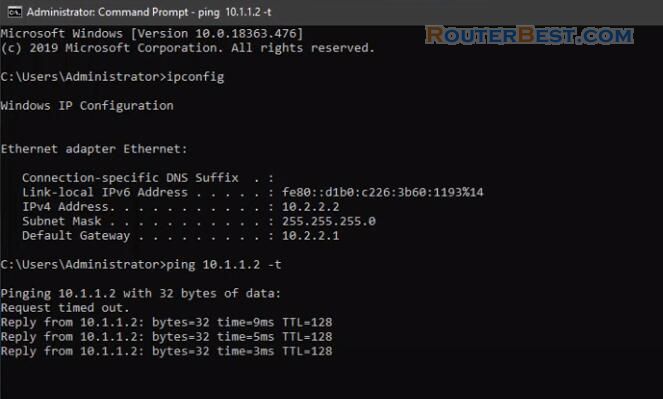
Next, you configure the DHCP server for the inside segment. In this session I will cover how to enable icmp inspection to allow ping traffic passing Asa.
dhcpd address 192.168.1.2-192.168.1.254 inside
dhcpd dns 8.8.8.8 8.8.4.4
dhcpd enable inside
write
policy-map global_policy
class inspection_default
inspect icmp error
write
You can now browse the internet using any computer that connects to the inside interface.
Facebook: https://www.facebook.com/routerbest
Twitter: https://twitter.com/routerbestcom
Tags: Cisco Asa

