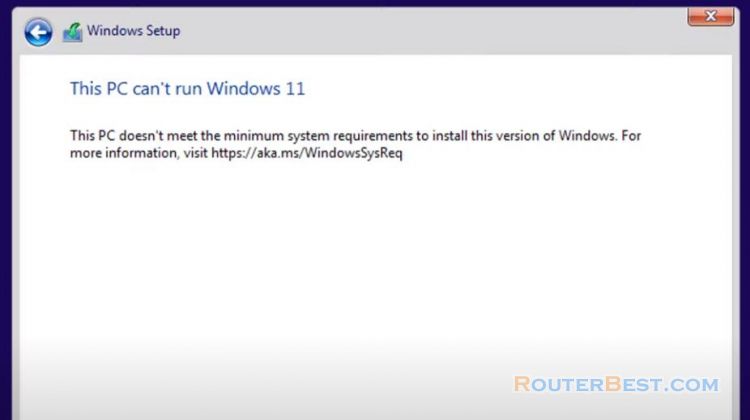
In this article, I will show you how to integrate the latest update package into a Windows ISO file.
Download Update Package from Microsoft Update catalog
First, go to the Microsoft Update Catalog and download the latest update package. You search for update packages that match the operating system of the Windows ISO file. At the time of making this video, the latest update was April 25. In this article, I update for Windows 11 operating system.
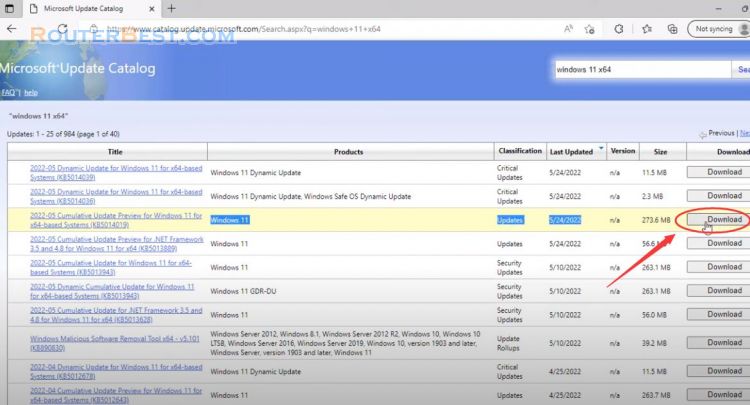
You download the latest update to your computer with a rather long file name and an extension of msu. Here I create some folders to make it easier to integrate and name them mount, wim, update.
You copy and paste the downloaded file into a folder called update. I have prepared the Windows 11 iso file, if you don't have it, download it from Microsoft's homepage.
How to Install Windows 11 from another hard drive
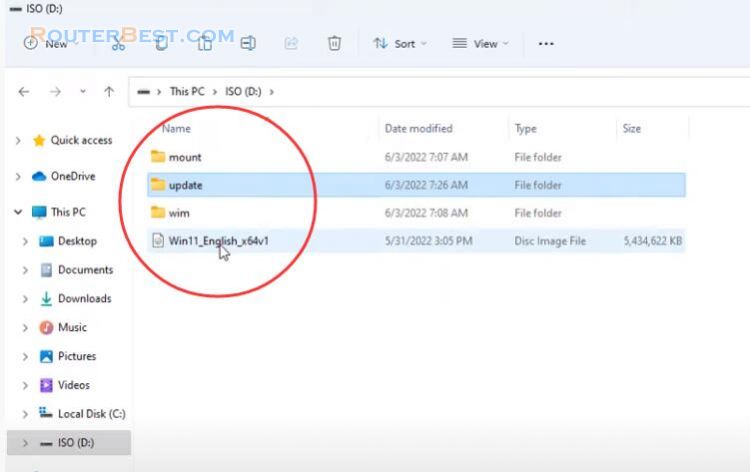
You mount the ISO file on Windows OS to get the install.wim file. You will find the install.wim file in the sources directory. I copy and paste the install.wim file into a folder called wim.
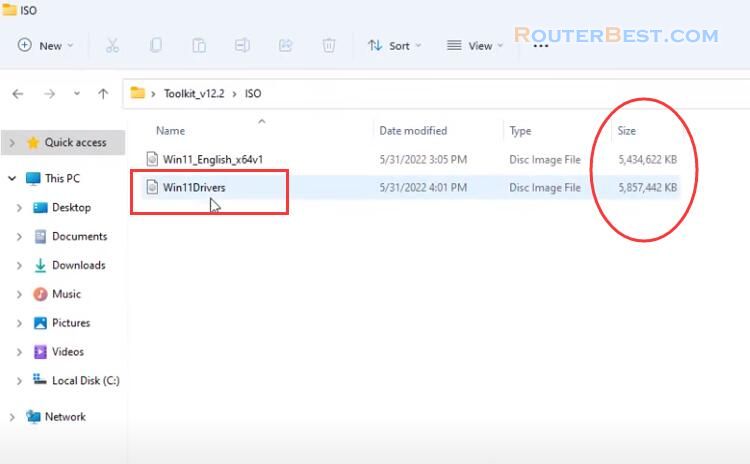
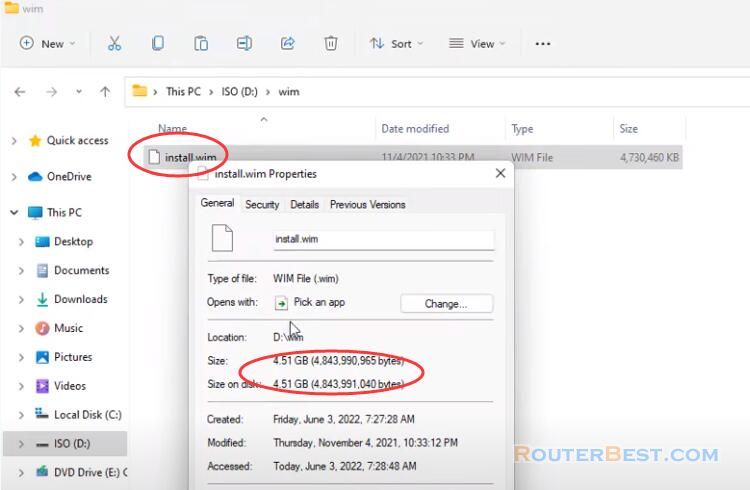
You observe the size of the original install.wim file before the update package is integrated, it is about 4.5GB. This size will increase after being integrated.
Select OS version
Before integrating you need to find out the information about the file install.wim. You enter cmd in the Windows search box and open a command window with administrative rights.
Want to see information about it you execute this command:
Dism /Get-ImageInfo /ImageFile:"path_to_install.wim"

You replace the path to the install.wim file. The install.wim file will have 11 versions of the windows 11 operating system installation. You choose your favorite operating system version.
And in this example I choose Windows 11 Pro with an index of 6, index 6 is the information needed to execute the next statement.
Mount the WIM file
Next you will mount Windows 11 Pro into a folder. In this article, I have created a folder called mount in drive D to store the files after mounting.
DISM /mount-wim /wimfile:"path_to_install.wim" /index:6 /mountdir:"path_to_mount_dir"
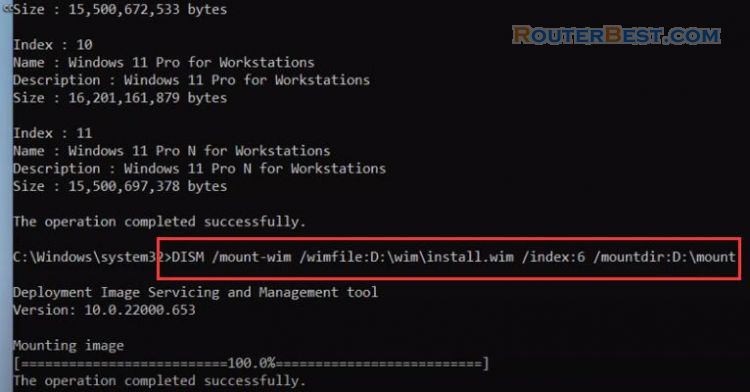
You replace the path to the install.wim file and replace the path to the folder where you want to mount Windows 11 Pro.
Add Windows Update Package to WIM file
The next command will help you integrate the update package into the Windows 11 Pro operating system. You replace the path to the Windows 11 Pro operating system mount folder.
Dism /Add-Package /Image:"path_to_mount_dir" /PackagePath="path_to_update_package_file"
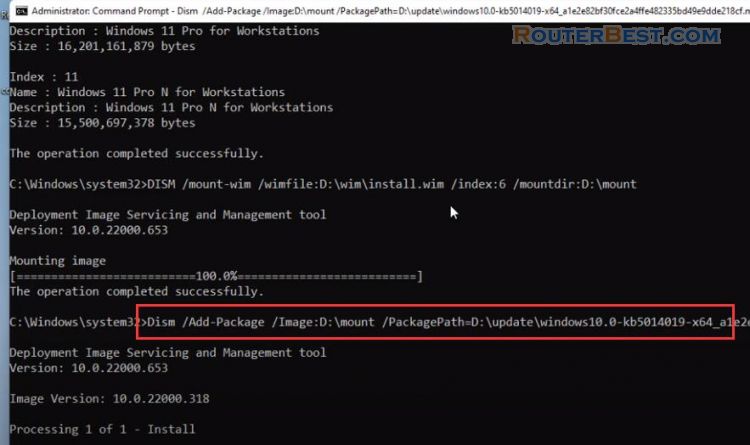
You replace the path to the Windows 11 Pro operating system mount folder. Next you replace the path to the update package downloaded in the first step. Be careful not to rename the update package, because it will cause an error. You can integrate multiple update packages at the same time. The update file has the extension MSU.
It takes about 30 minutes to integrate the update package into the windows 11 Pro operating system.
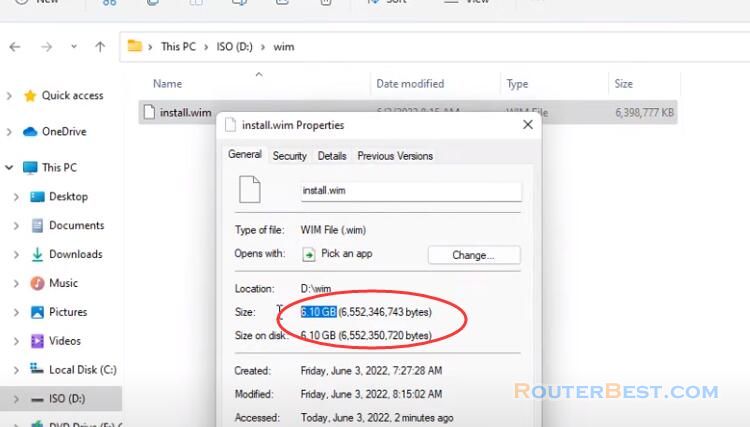
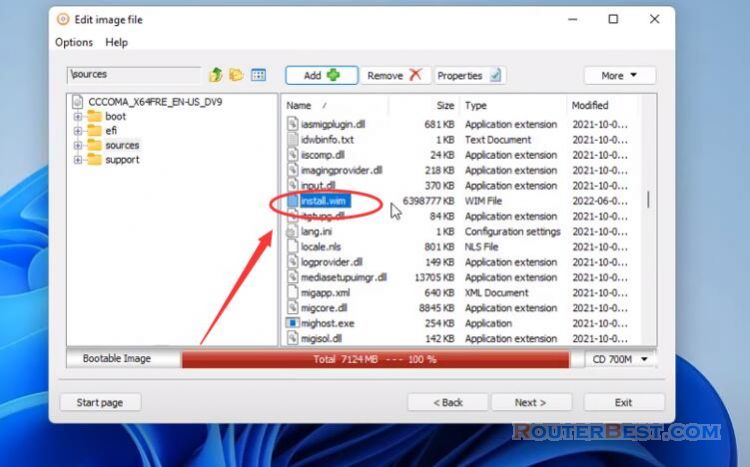
You will see the size of the install.wim file increase, about 6GB.
Dismount the WIM file and Save Changes:
dism.exe /Unmount-wim /mountdir:"path_to_mount_dir" /commit
Create a new ISO file with updated package added
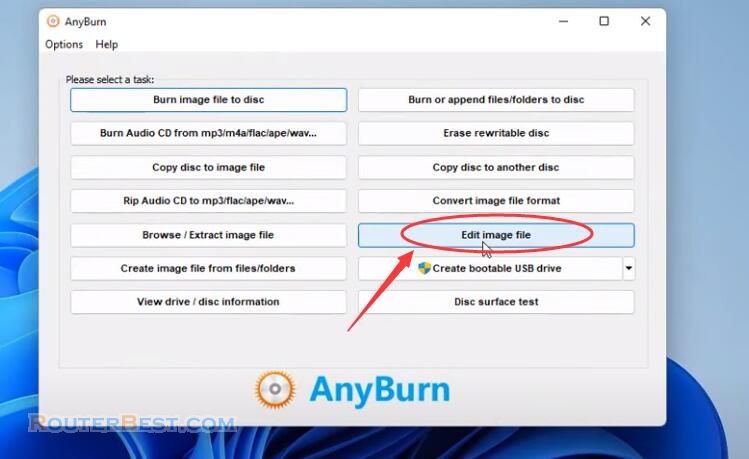
Next you create a new Windows iso file with AnyBurn software. You open the original Windows 11 iso file and replace the original install.wim file with the new one with the updated package included.
You move to the source directory to find and replace the install.wim file. The ISO file size increased due to the increase in install.wim file size.
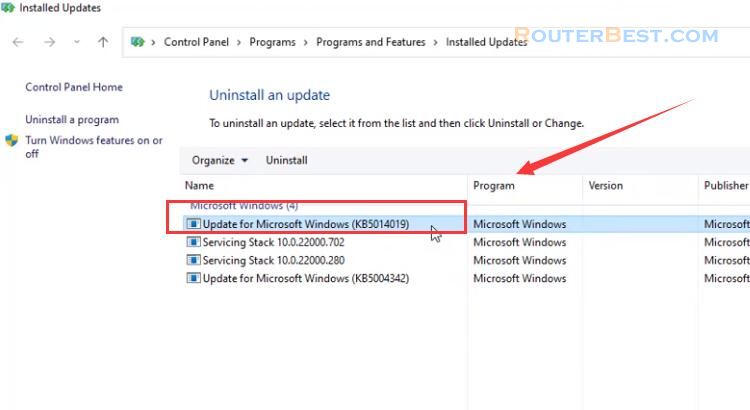
To test the results I created a virtual machine using VMware. As you can see, after installing Windows 11 Pro, your virtual machine has the latest update package installed.
Facebook: https://www.facebook.com/routerbest
Twitter: https://twitter.com/routerbestcom
Tags: Windows 11 AnyBurn

