In this article I will explain how you turn a computer into your own home server. This server will help you to share files over the network, create private cloud storage and more than 40 other software you can use.
To build your own server as described, you need a computer with basic hardware. In addition, you need another PC and a usb stick to create the installer.

Install Nethserver
To be able to install my own server, I use Nethserver. First go to nethserver homepage and download the latest iso file.

Unlike other NAS software, nethserver only requires your computer to have at least one hard drive. After you download the latest iso file you need an app that creates an installer with a usb stick.
My favorite software is Rufus, a compact and free software. You select the usb stick and the nethserver iso file you just downloaded in the previous step to create a bootable installer.

It will take a few minutes to create the required installer. Then you plug the USB into the target computer and start installing nethserver. You adjust the boot order of the target computer to the usb stick before installation.

Nethserver is installed on the operating system centos. You will be asked to update the time zone and keyboard style. I recommend you to set a static ip address for your home server.
Go to "SYSTEM" > "NETWORK & HOST NAME".

You choose to set the ip address manually. In this example, I assign the ip address to 10.11.32.124. The gateway address is 10.11.32.140. You set up the appropriate ip address for your local network. Next, you set up the dns address for your computer.

After configuring the static ip address for the computer, you can start the installation.
Next, you will be asked to set up a root password. Please write down your password to be able to log in to nethserver. It will take about 5 minutes to complete the installation.

When the computer restarts you adjust the boot order to the hard drive.

Log in Nethserver
After the computer has finished booting, you will receive a message telling you how to access the nethserver system. You will use the ip address and port 9090 to access the nethserver web interface.
From another computer on the same local network, open any web browser and enter the ip address of the target server and port "9090". Default username is "root". You enter the password created in the previous step.

First, you will be asked to update the hostname. Then you edit the company name, but you will update a name you like.

On the left menu you click software center. Here you will find more than 40 software you can install on nethserver. The interesting point here is that you install these software using the graphical interface and do not need to use any commands at all.
Install Software
Here I will install two popular software. The first software is commonly used file sharing on Windows operating system, it will help you to easily share files for everyone over the network. The second software is nextcloud, it will turn your server into private cloud storage. Unlike previous articles I wrote, you don't need to use complicated commands to install these software.

Go to "Applications".

To share files over the network you create a shared folder, in this example I create a folder named "test".

From any computer on the local network you can access the shared folder, upload and download shared files.

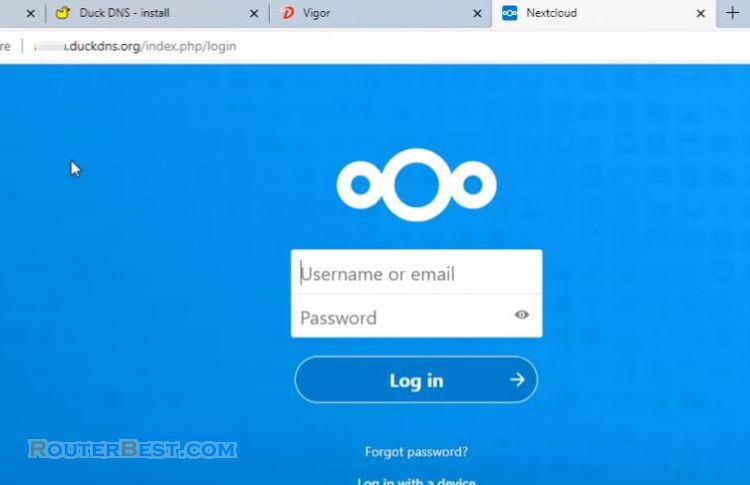
Next you try nextcloud software by accessing settings. Then you access the application nextcloud. Default username is "admin", And the default password is "Nethserver,1234".

So you have installed nextcloud on your private server. Also you have about 40 other software that can be installed on this server for you to explore.
Facebook: https://www.facebook.com/routerbest
Twitter: https://twitter.com/routerbestcom
Tags: nextcloud NAS Nethserver Rufus