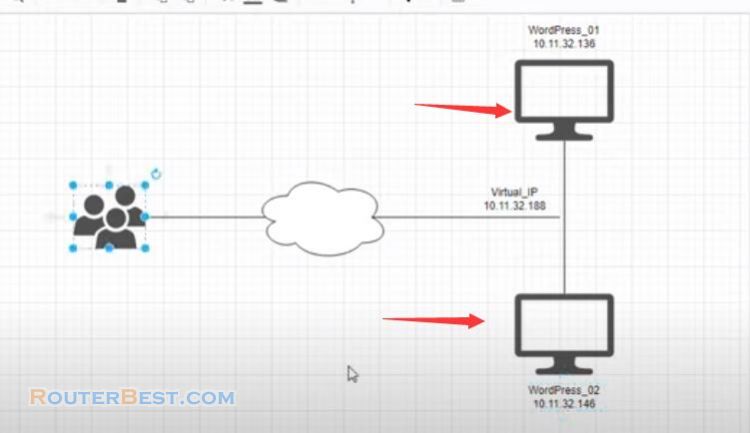
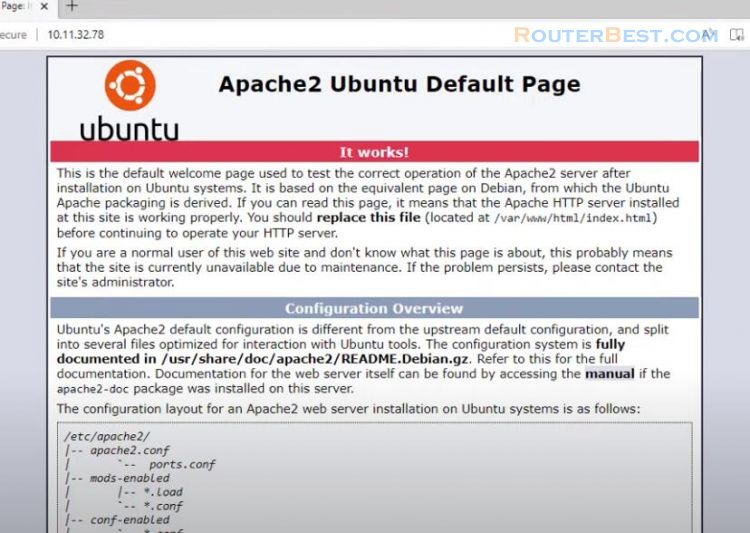
It's free! In this article we install linux on windows and build our own website. You can access your website from anywhere. Because I will be building my website on Linux so I need to create a virtual machine.
Create a Virtual Machine
You can create virtual machine VMware Player or hyper-v but in this example I use virtualbox. This is a completely free and easy-to-use virtual machine creation software.
VirtualBox
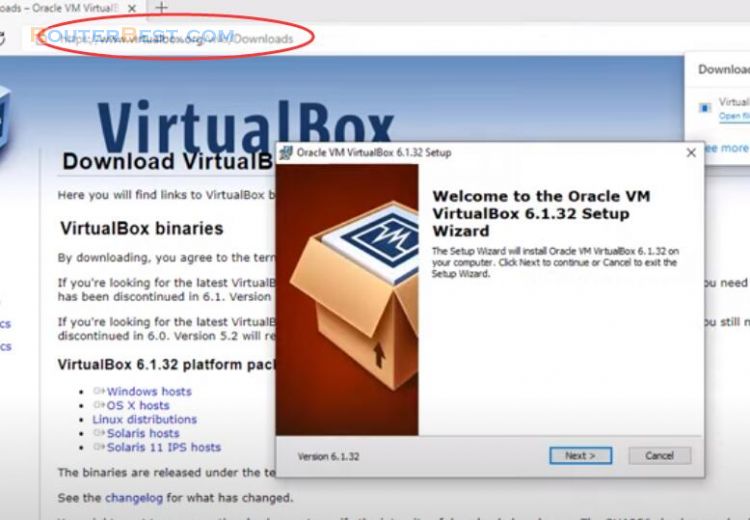
To build a website fast I use dietpi. You go to dietpi's homepage and download the corresponding file for VirtualBox.
DietPi
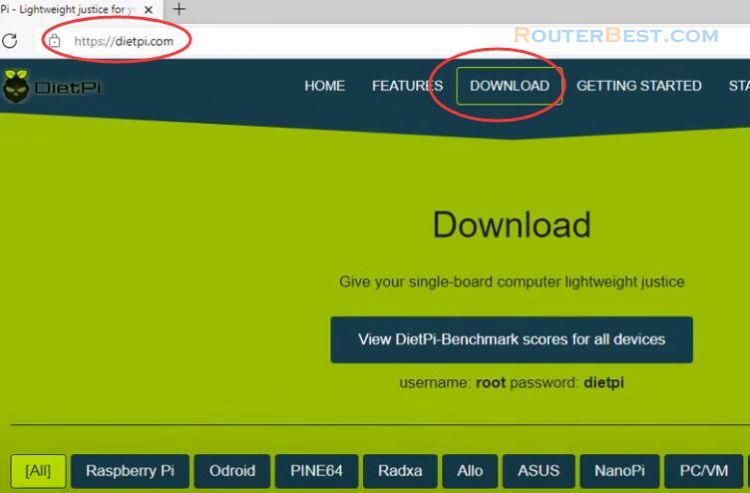
Because dietpi will save me a lot of complicated configuration work or having to use a lot of complicated commands. You only need to use a few short and easy-to-remember commands to build a website.
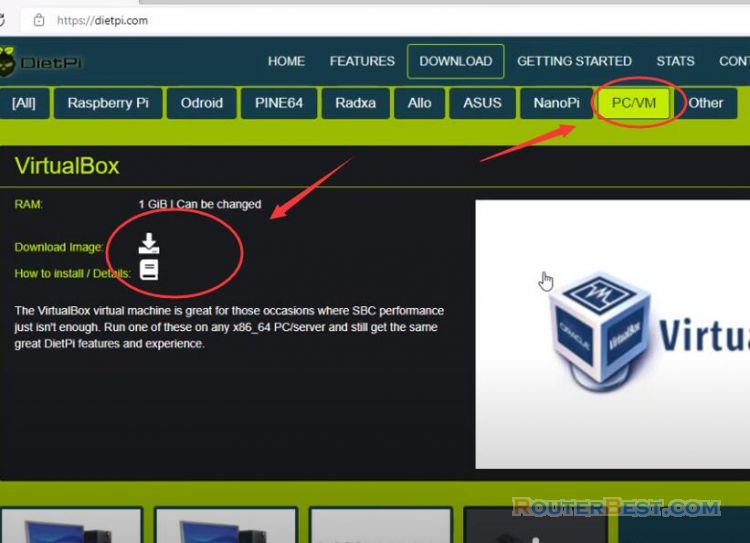
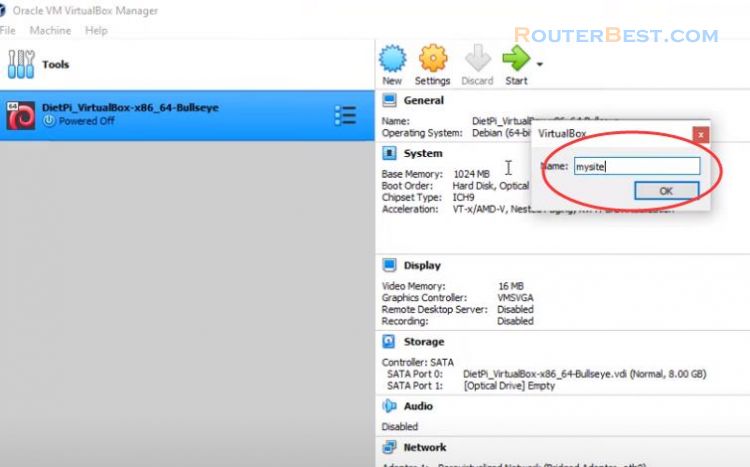
You unzip the downloaded file and then import it into virtualbox. The default name of the virtual machine is very long, you should make it short and easy to remember.
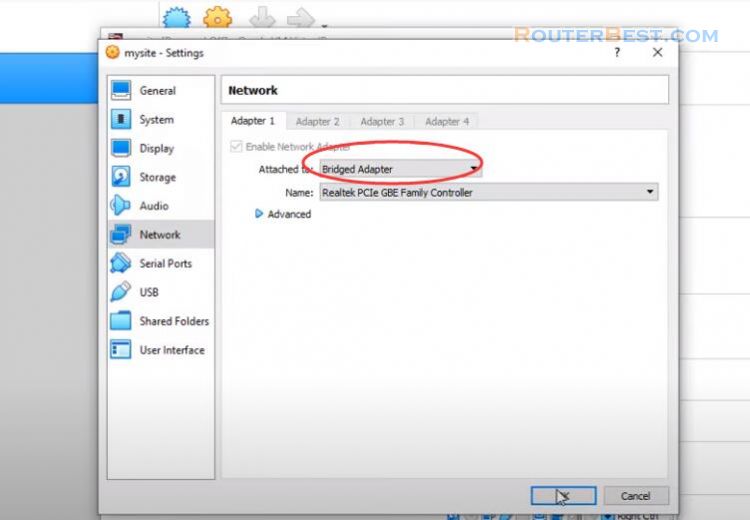
You setup the network in bridge mode so the next steps will allow your website to be accessible from the internet.
After the virtual machine has finished booting, the screen will appear information including ip address, username and password. My virtual machine actress is 10.11.32.71. Default username is root and default login password is dietpi.
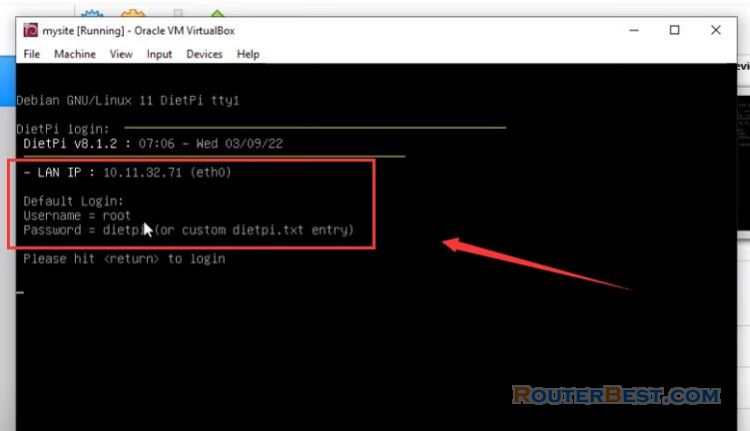
After the first log in the virtual machine will automatically update so please be patient for a while.
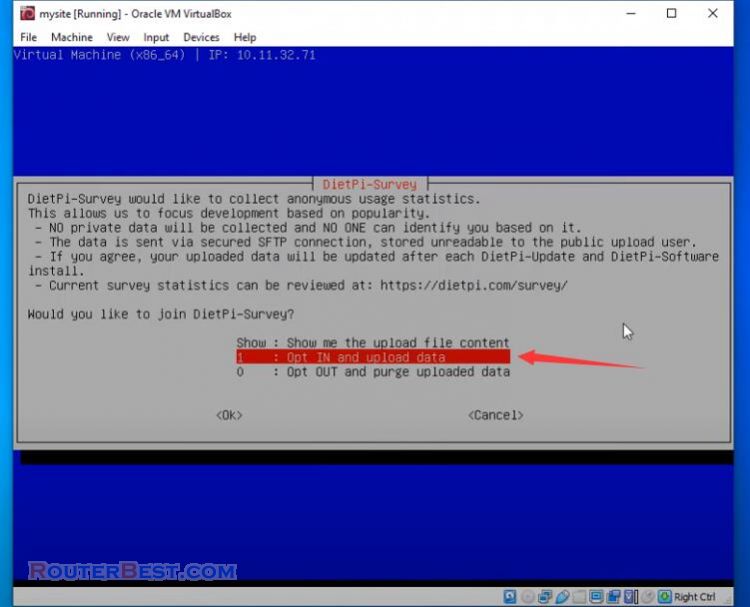
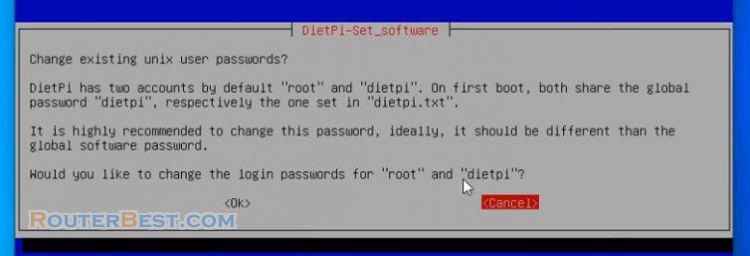
You can change the default password if you want, but in this example I keep the old password.
Install WordPress
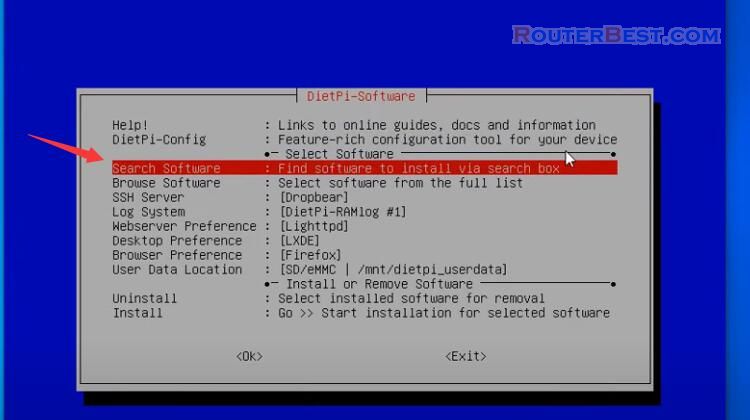
To build a website I will use WordPress here is an easy way to create a website. So you enter the keyword "wordpress" in the search box to install wordpress.
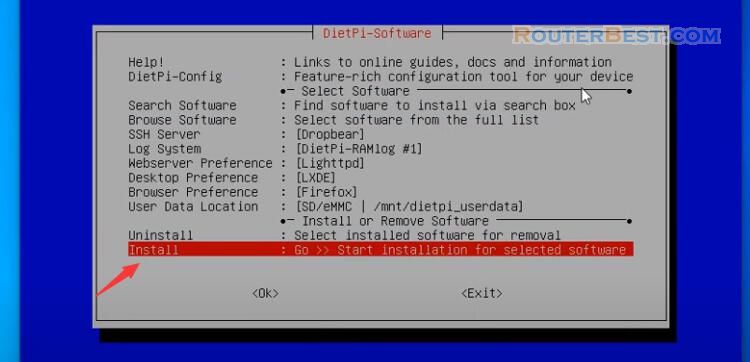
Before installing you need to find the necessary information such as how to access the website or information about the database. You can find this information on the dietpi homepage.
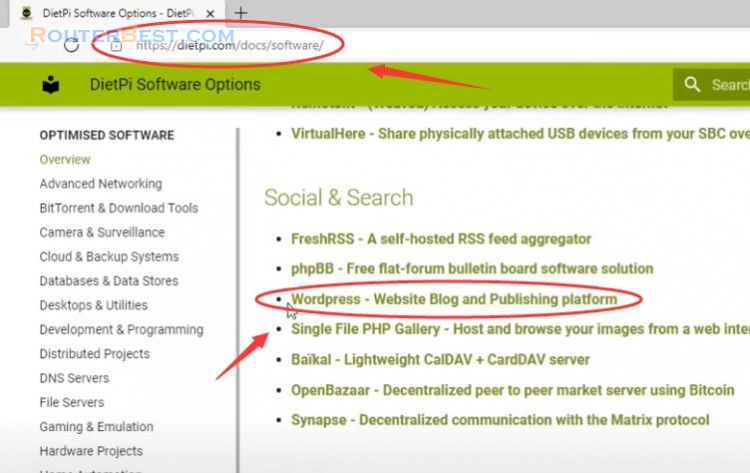
Default database name is wordpress, username is wordpress and password is dietpi. The package is needed to create a website will automatically be installed just wait patiently.
As instructed I will access my website with ip address 10.11.32.71. Here I need to fill in the information to connect to the database, and I use the default information as instructed.
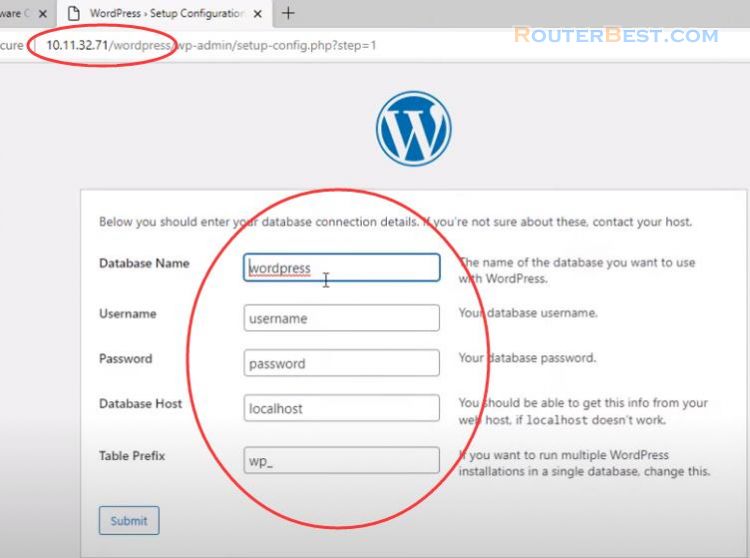
Next you create an admin account for your website. You should write this information down to use in the next steps. And here is the result you've got your own website with almost no commands needed.
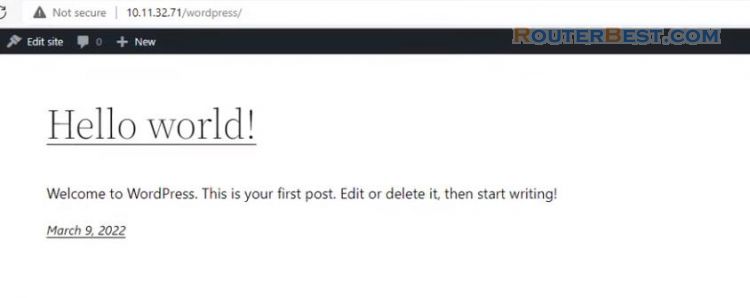
I'm going to make some changes to my site to check if it's working properly. First I will choose a new theme for my website. There will be many beautiful themes for you to choose from.
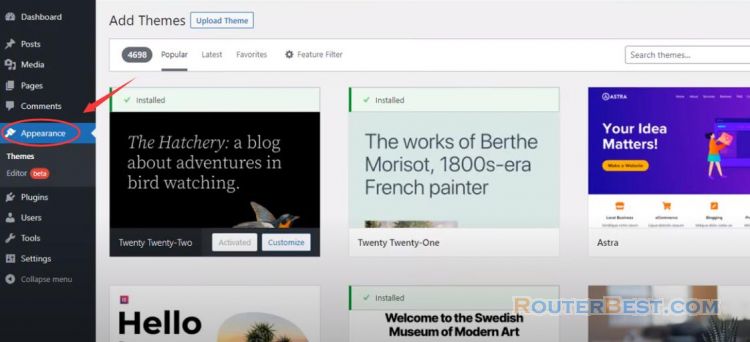
Next you will create an article for your website. You can add images, customize fonts or insert links to videos and more. As you can see my website works great.
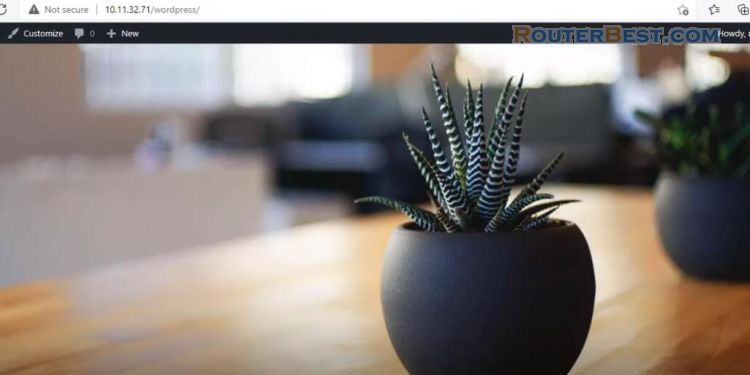
But you like me don't just want your site to be used only within your internet right. So we allow it to be accessible from anywhere. The next part of this article will solve that problem.
Access from Internet
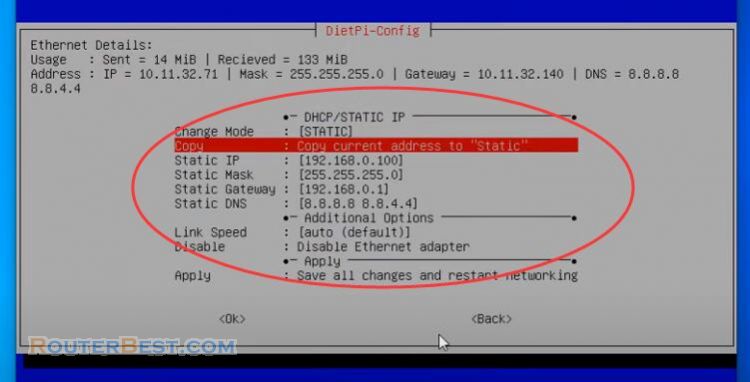
First you set up a static ip address for your virtual machine.
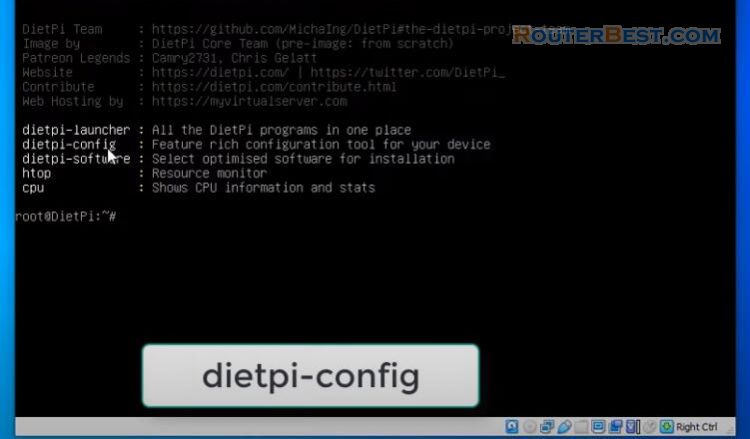
Static IP
dietpi-config
Then, select "7: Netword Options: Adapters" > "Ethernet Available" > "Change Mode: DHCP".
I choose to copy the existing ip address for my virtual machine, you can set it up manually if you want. My virtual machine actress is 10.11.32.71.
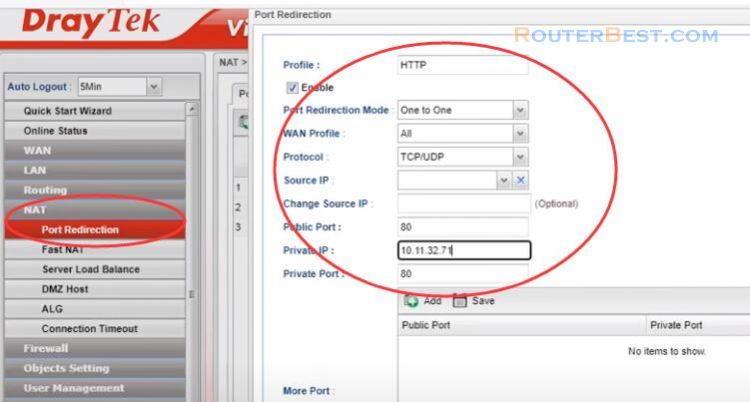
Port Forwarding
In the next step, I will forward the port to the static ip address of the virtual machine I just configured. There are two ports you need to forward: 80 and 443. Each router manufacturer will have a different port forwarding method. Please refer to your router's homepage for how to forward these ports. As you can see I will forward ports 80 and 443 to ip address 10.11.32.71.
Since the purpose of this article is to create a free website, I will need a free domain name.
Dynamic DNS
With Duckdns Dynamic DNS, I get a free domain name. I created the domain name for my website routerbest.duckdns.org. Create your own domain name that is easy to remember and suitable for your website.

So what do I need to do to assign this domain name to my website. You choose your domain name and see how to install on Windows operating system.
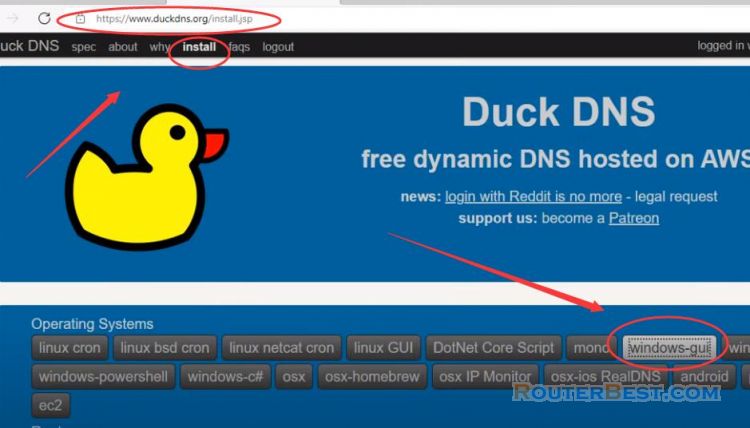
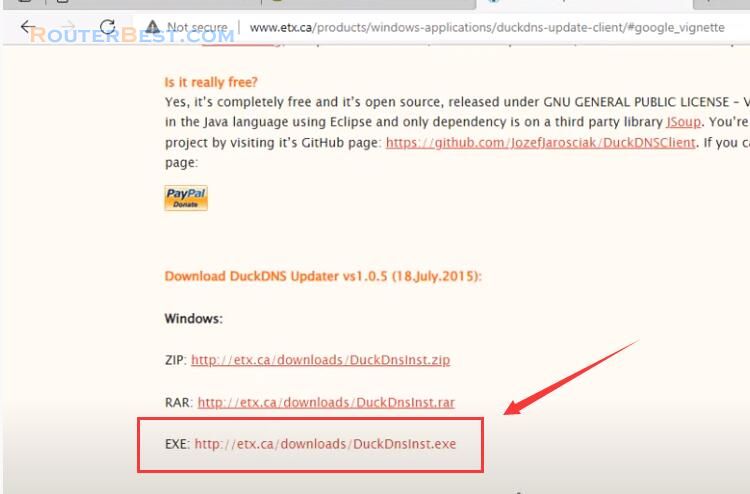
Step 1: download & install the software from www.etx.ca. You can also update the public ip address directly on your virtual machine but here I choose to install on Windows, because it will be simpler.
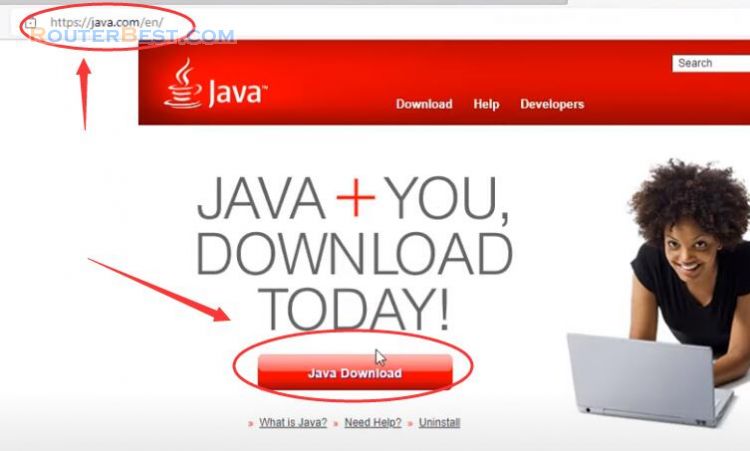
Before installing the software to update the public ip address, you need to install java first.
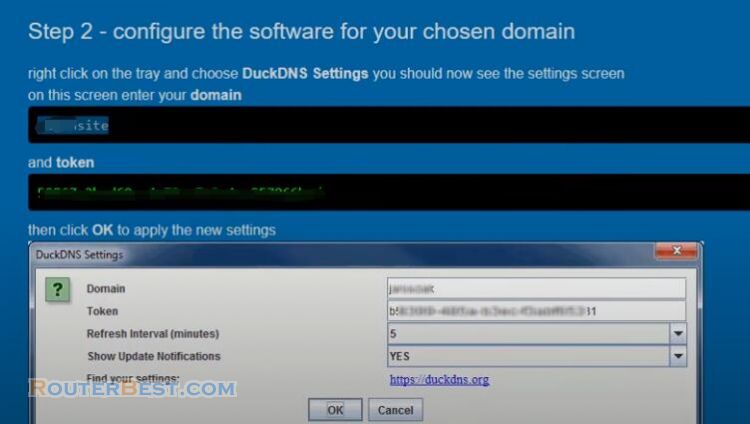
Step 2: configure the software for your chosen domain.
You fill in your domain and token information to update your public ip address. You can customize the public ip address update time as you like, here I will update every 30 minutes.
You need to tell wordpress your domain name so you need to configure it on wordpress.
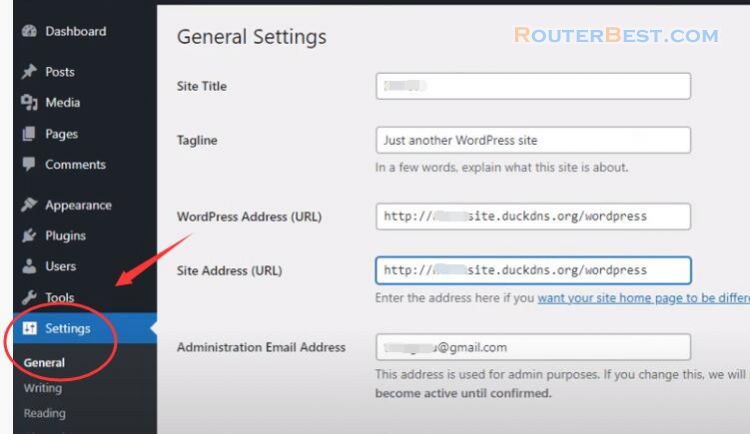
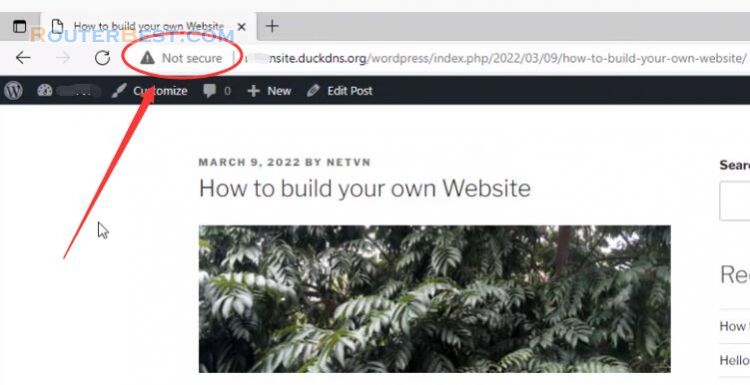
Now I will try accessing my website with my domain name. As you can see the domain is active. What else do we need to do with our website. As you can see, the site is being warned as not secure, so what to do?
HTTPS
The security of a website should not be taken lightly.
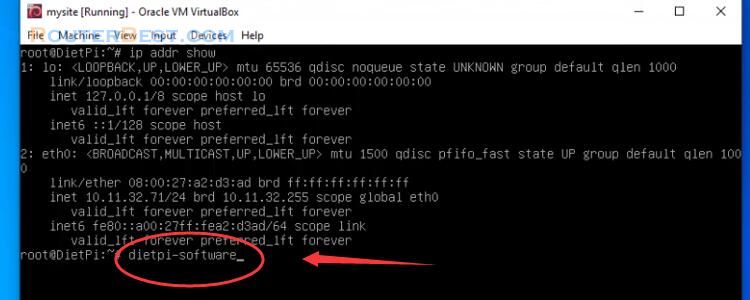
You enter ssl in the software search box and install let's encrypt. So we need to encrypt the communication between the user and the web server. So you need to install let's encrypt.

After the installation is complete, you use the command dietpi-letsencrypt to configure.
dietpi-letsencrypt
Here you enter your domain name, For my website, I fill in routerbest.duckdns.org

Next you set up automatic redirect to https for your website. Once setup is complete your site will appear with a lock icon. Thus your website has encrypted communication.
So I have created my own website.
Facebook: https://www.facebook.com/routerbest
Twitter: https://twitter.com/routerbestcom
Tags: Duckdns WordPress DietPi Virtualbox

