You want to experience Synology NAS and its amazing applications but don't have a real device so what to do? In this article, I will show you how to install Synology NAS 7.1 operating system on VMWare hypervisor.
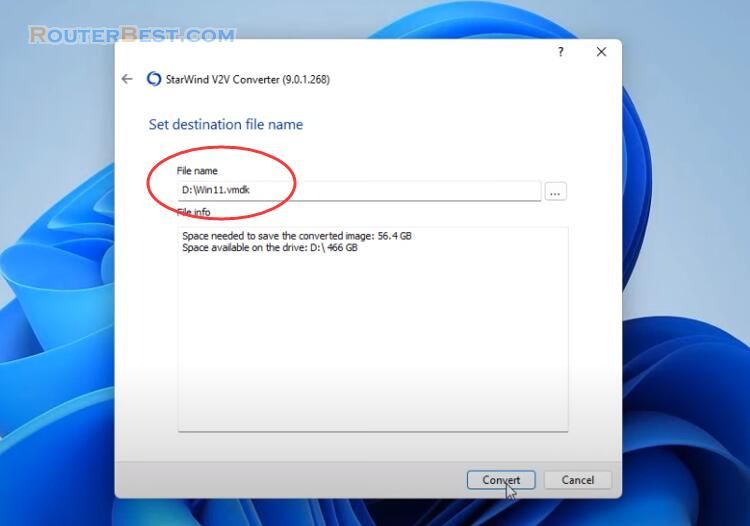
First of all you need to download the tinycore redpill loader tool. After extracting you will get a file with extension vmdk. With tinycore redpill you can create many different loaders suitable for different Synology NAS platforms. So you can experience different Synology NAS platforms without buying any physical equipment.
Turn PC into Synology NAS with DSM 7.1
You can install on hypervisor VMWare Workstation Pro or VMWare Workstation Player depending on which version you are using. In this article, I use VMWare Workstation Pro hypervisor to create a new virtual machine. I will create a new virtual machine and name it Synology 7.

Next I will customize the hardware to match the NAS device. Increase virtual machine RAM size to 4GB for better experience. Set up the network in bridge mode to communicate directly with the local network you are using. You remove the default hard drive, remove the CD/DVD, remove the printer, remove the sound card.

You add 3 hard drives for the virtual machine, the first hard drive to add is the file you downloaded in the previous step with the extension vmdk.

The first hard drive is a Synology NAS loader. Virtual disk type: SATA. Select "Use an existing virtual disk". Existing disk file: tinycore redpill loader tool.


Next, you add two equally sized hard drives to configure RAID1 for the NAS device. You can customize the capacity for these hard drives however you want, in this example I add two hard drives with a capacity of 120GB.

All 3 hard drives have SATA connections. How to add a second hard drive and a third hard drive is exactly the same. You can add multiple hard drives to your Synology NAS virtual machine depending on the platform you choose.
So the virtual machine is ready, you start it to perform the next step.

You wait a bit until the word core appears in the center of the screen. So what is the ip address of the virtual machine, open a command prompt and type "ifconfig" to display the ip address. As here the ip address is 10.11.32.69.
You use this ip address for remote access by ssh. Default username and password are "tc" and "P@ssw0rd". To get the loader for Synology NAS copy and paste the commands as follows:
 ./rploader.sh update
 ./rploader.sh fullupgrade
 ./rploader.sh
 ./rploader.sh build bromolow-7.1.0-42661
 exitcheck.sh poweroff
The first and second commands help you to update and upgrade this tool to the latest version. Latest version helps you create loaders for the latest Synology NAS platforms. And here is a list of loaders you can create for Synology NAS platforms. Synology NAS has 7 different platforms for different customer needs. Each platform has different operating system versions.
Here is a summary of 7 different Synology NAS platforms to give you the best overview.

The easiest way to tell them apart is the maximum number of hard drives that can be installed on each NAS device. In this example I choose DS3615xs to create the loader.

To create the desired loader I use the command as above. If you choose another platform, you can customize the command accordingly. After a few minutes of waiting, turn off the virtual machine and edit it a little more. You go to where your virtual machine is stored to customize the vmx file. This file stores your virtual machine configuration.

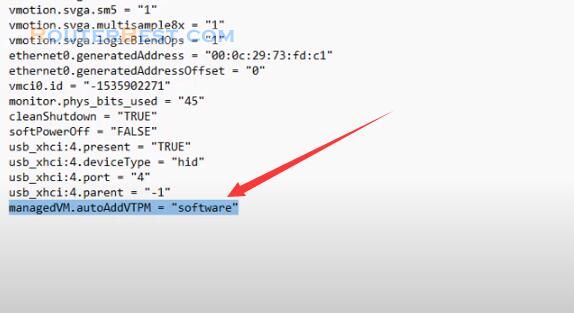
You scroll down and customize the network configuration again from "e1000" to "e1000e". This is to make the virtual machine discoverable by the Synology Assistant software. Then you save the configuration before closing the file.
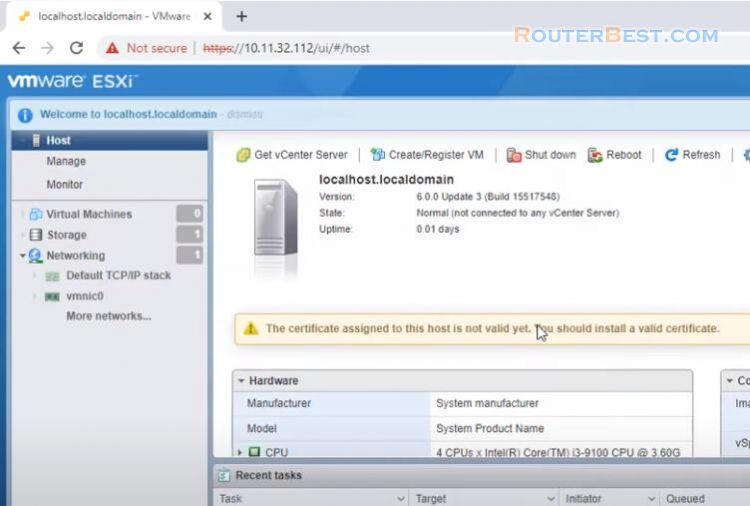
Next don't forget to check the network configuration on your VMWare hypervisor. You should make sure that your virtual machine configuration is being configured in bridged mode.

Next, you start the virtual machine and use Synology Assistant to find the NAS device in your network. You wait until the virtual machine finishes booting.
Maybe you'll fail the first time, but it's okay you'll find it the second or third time. Here I found a Synology NAS device with ip address 10.11.32.12 and it is not installed.

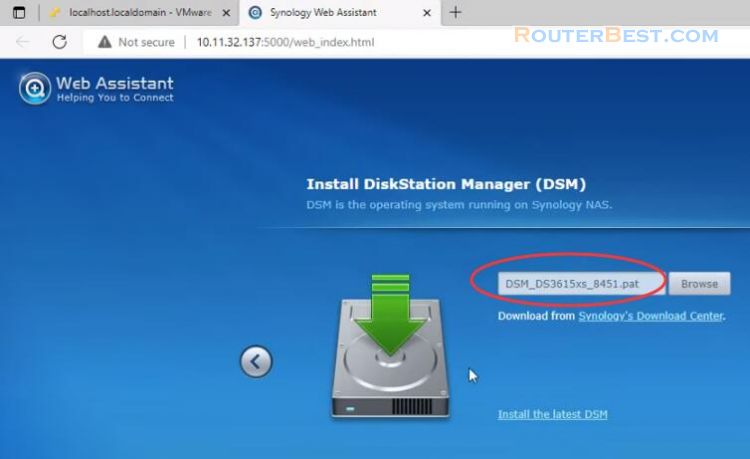
You check the device information to download the appropriate operating system. Next you install it almost like real devices. Like here I have to download DSM 7.1 42661. You go to the Synology download center and download the required device file.

A file with the extension pat will be downloaded to your computer.
Next you upload this file to your virtual machine. It will take about 10 minutes to install the operating system for Synology NAS so please wait patiently. There is a limitation of this method that you cannot update to a newer operating system. To do that you have to replace the loader and also need many steps to do it.
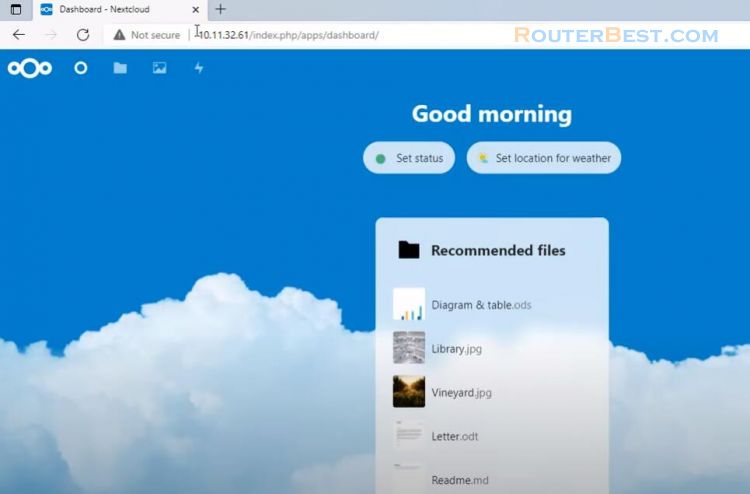
With the test environment it is not necessary. And finally you have a Synology NAS device on VMWare hypervisor. Here you can communicate with your network, store data, install great Synology applications.

Facebook: https://www.facebook.com/routerbest
Twitter: https://twitter.com/routerbestcom
Tags: Synology NAS VMware