Today we perform DNS ip address settings for TP-LINK router, the router model I used this time is TL-WR740N. Its management IP address is 192.168.0.1
Step 1 : Log in TP-LINK Wi-Fi router TL-WR740N
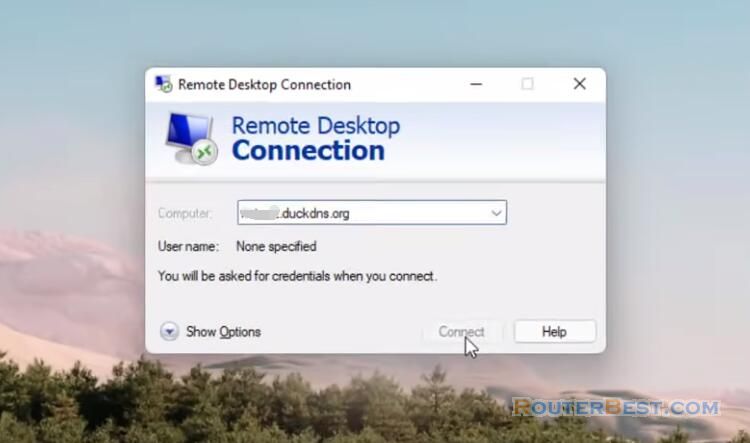
Open a web-browser (such as Microsoft Internet Explorer, Google Chrome, Mozilla Firefox or Apple Safari). Enter the ip address of TP-LINK TL-WR740N wireless router: 192.168.0.1.
Username : admin
Password : admin

Step 2 : Set DNS ip address
Go to "DHCP" > "DHCP Settings". We install the DNS ip address here.
For example, the IP address "8.8.8.8" is one of the DNS you can set up for TP-LINK wifi router, Primary DNS : 64.145.73.5 or 8.8.8.8, Secondary DNS : 209.107.219.5 or 8.8.4.4
Click "Save" button to save the settings.

Step 3 : Reboot TP-LINK wi-fi router
After saving your settings, you will receive a prompt:
The change of DHCP config will not take effect until the device reboots, please click here to reboot.

When you click a, you will see another prompt:
Click this button to reboot the device.
It will take a while to reboot. After that, review the installed information.
The final step is to check the results:
Right click on the network icon, "Network and Sharing Center" > "Ethernet" > "Details"

You can see the DNS IP address you set above.
Facebook: https://www.facebook.com/routerbest
Twitter: https://twitter.com/routerbestcom
Tags: DHCP DNS 192.168.0.1 TL-WR740N TP-LINK