Today we install ibVPN on TP-LINK wifi router TL-WR740N, we perform the following installation steps.
Step 1 : Find a VPN Server in ibvpn website
Log in https://www.ibvpn.com, go to "Dashboard" > "My Servers"

This is a list of vpn servers. Pull down the browser scroll bar to find a VPN Server and copy it. For example : ru1.ibvpn.com

Step 2 : Log in TP-LINK TL-WR740N wireless router
Open a web-browser (such as Microsoft Internet Explorer, Google Chrome, Mozilla Firefox or Apple Safari). Enter the ip address of TP-LINK TL-WR740N wireless router: 192.168.0.1.
Username : admin
Password : admin

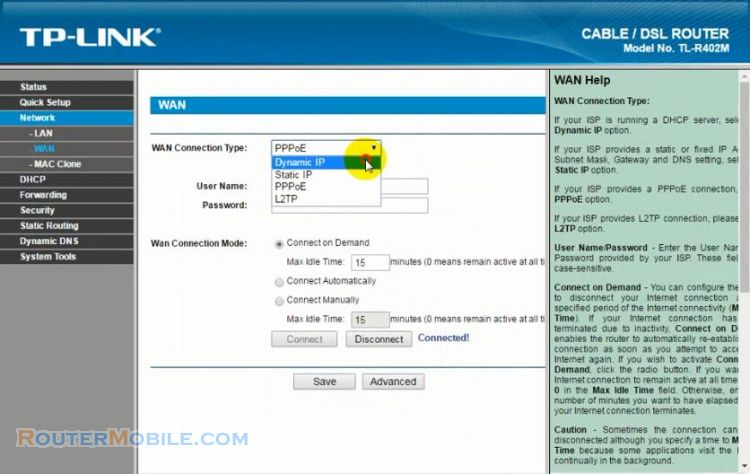
Step 3 : Setup VPN on TP-Link TL-WR740N Router
Go to "Network" > "WAN", WAN Connection Type : L2TP/Russia L2TP. Enter the ip server address in the "Server IP Address Name" box, for example : ru1.ibvpn.com
Next enter your vpn username and password, Click "Save" to save the settings. Then, click "Connect" button.

Successful connection! We see the connection information here:

Install DD-WRT Firmware on TP-LINK TL-WR740N/ND V4 Wireless Router
Configure DHCP Lease Time on TP-LINK TL-WR741ND TL-WR740N
Configure Port Forward DMZ on the TP-LINK TL-WR741ND TL-WR740N
Facebook: https://www.facebook.com/routerbest
Twitter: https://twitter.com/routerbestcom