This article explains How to create real-time backup for Nextcloud. With this approach, if the main Nextcloud server fails, the backup server will be replaced immediately. And so you can still connect to your cloud data until the main server is fixed, the cloud data is automatically synchronized. So your work is not interrupted even though one of the two servers is down. The data between the two servers is always synchronized in real time. In this article I use two servers using Ubuntu operating system.

In this example the ip address of the primary cloud host is 10.11.32.129, the ip address of the backup Nextcloud server is 10.11.32.130, The virtual ip address for the two cloud servers is 10.11.32.202.

Create virtual ip address
First you create virtual ip address 10.11.32.202 for two servers with keepalived. You install keepalived on both primary and backup servers.
sudo apt update && sudo apt upgrade -y
sudo apt-get install apache2 keepalived -y
After the installation is complete, create a new keepalived configuration file on both servers
sudo nano /etc/keepalived/keepalived.conf
Then you add the lines as follows:
vrrp_instance VI_1 {
        state MASTER,BACKUP
        interface ens33
        virtual_router_id 51
        priority 255,254
        advert_int 1
        authentication {
              auth_type PASS
              auth_pass 12345
        }
        virtual_ipaddress {
              virtual_ip
        }
}
You notice there is a difference between the two servers. One server is Master and one server is Backup. Priority is different, here main server has higher priority. You configure the virtual ip address on both servers to be the same 10.11.32.202. The main server has higher priority address, so under normal conditions it will own a virtual ip address. Also you configure the same password on both servers.

You use the key combination ctrl x then select Y to save and close the keepalived configuration file. One more thing you need to keep in mind is to select the interface that you want to assign a virtual ip address to it.
ip addr show

Then you start the keepalived service on both servers.
sudo service keepalived start
As I check, main server is using virtual ip address 10.11.32.202. I would check if the ip address is automatically assigned to the backup server by stopping the keepalived service on the primary server.
You will see that the virtual ip address will be immediately assigned to the backup server. After checking, remember to start the keepalived service on the main server to return the virtual address to the main server.
Install and Configure the Database
The next step is to install and configure the database on the two servers. You install the mariadb database software on both servers.
sudo apt install mariadb-server mariadb-client -y
Once mariadb is installed, open the configuration files on both servers and edit them as follows:
sudo nano /etc/mysql/mariadb.conf.d/50-server.cnf
By default mariadb only allows use on the server itself, so you need to allow remote access to the database by removing the bind address configuration. You identify the database to distinguish between the two servers.
Here I identify the database on the main server as 1, and the database identifier on the backup server is 2. Also you enable logging on both databases of the two servers.

Don't forget to save your changes before closing the database configuration files, and restart mysql.
sudo systemctl restart mysql
Next, I will show you how to synchronize the database between two servers.
Database Replication
First you assume the database on the main server is primary and the database on the backup server is the server. On the main server you create a rep user account and grant replication permission. The backup server will use this repuser account to synchronize the database with the primary server.
In addition, you need to add information about the database on the main server such as ip address, username, password, log and position.

CREATE USER 'repuser'@'%' IDENTIFIED BY 'password';
GRANT REPLICATION SLAVE ON *.* TO 'repuser'@'%';
FLUSH PRIVILEGES;
show master status\G;
CHANGE MASTER TO MASTER_HOST='remote_ip',
MASTER_USER='your_replication_user',
MASTER_PASSWORD='your_replication_password',
MASTER_LOG_FILE='your_log',
MASTER_LOG_POS=your_position;
start slave;
show slave status\G;
Then you start the slave on the backup server and check the database slave status. If you see a message with the word Yes as above, you did it right. But so you can only synchronize the database from the main server to the backup server and not synchronize the database from the backup server to the main server.
That is, treat the database on the backup server as the master and treat the database on the primary server as the slave. You just need to perform the same steps as in the previous step, but you need to update the ip address to 10.11.32.130.
After the configuration is done, you start the slave mode on the main server and check the status. Just like the backup server, if the above appears on the main server, you did it right. At this point, the databases of the two servers are synchronized in real time, any database changes on one server will be synced on the other.
Create Nextcloud Database
Next, on any server you create a database for your cloud storage. Here I create a new database and name it nextcloud.
Then create a new username ncuser, then grant permissions to the newly created nextcloud database. You can check on the other server and see that the database changes have been synced between the two servers.
CREATE DATABASE nextcloud;
CREATE USER 'ncuser'@'%';
GRANT ALL PRIVILEGES ON nextcloud.* TO ncuser@'%' IDENTIFIED BY 'your-password';
FLUSH PRIVILEGES;
At this point I have finished the instructions on installing and configuring the database.
Next step I will guide you to use Gluster to sync nextcloud folder between two servers.
GlusterFS
You install gluster on both primary and backup servers.
sudo add-apt-repository ppa:gluster/glusterfs-7
sudo apt install glusterfs-server -y
After the installation is complete, start the gluster service. Next you enable the gluster service to make sure it still works when the server restarts.
sudo systemctl start glusterd.service
sudo systemctl enable glusterd.service
Before synchronizing folders together you need to peer-to-peer using gluster. You are peer-to-peer using the remote server's ip address. On the primary server you use the backup server's ip address for peer-to-peer connection. Here the ip address of the backup server is 10.11.32.130.
sudo gluster peer probe 10.11.32.130
After successful peer-to-peer connection, create a shared folder for both servers. The shared folder here I named vol1. After configuring the shared folder, you should check if it was successful or not on the backup server.
sudo gluster peer status
sudo gluster volume create vol1 replica 2 10.11.32.129:/gluster-storage 10.11.32.130:/gluster-storage force
sudo gluster volume start vol1
sudo gluster volume status
Once you have a shared folder for the two servers, mount it where you will store nextcloud. To prevent the mount from being aborted if the server reboots, you update the mount with the file fstab. You update the ip address corresponding to each server. As in this example ip address of primary server is 10.11.32.129, and ip address of backup server is 10.11.32.130.
sudo mount -t glusterfs 10.11.32.129:/vol1 /var/www
sudo nano /etc/fstab
10.11.32.129:/vol1 /var/www glusterfs defaults,_netdev 0 0
After you have completed the fstab configuration, the mounts are maintained even if the server is restarted.
Nextcloud
Next you install PHP on both primary and backup servers.
Install PHP
In addition, nextcloud also uses a lot of php modules, so you need to install it fully. Otherwise, error will occur when you use nextcloud storage cloud. You install php and php module packages on both servers.
sudo apt install php -y
sudo apt-get install php zip libapache2-mod-php php-gd php-json php-mysql php-curl php-mbstring php-intl php-imagick php-xml php-zip php-mysql php-bcmath php-gmp zip -y
Install Nextcloud
After installing PHP, download the latest Nextcloud file to the directory /var/www. To know which is the latest Nextcloud file, visit Nextcloud's homepage. As at the time of this article the latest version is 23.0.3.

Because the two servers are peer-to-peer, the compressed Nextcloud file will appear on both servers.
cd /var/www
sudo wget https://download.nextcloud.com/server/releases/nextcloud-23.0.3.zip
Next you extract the Nextcloud file and copy it to the current directory. After waiting for a while both servers will appear a new folder named Nextcloud.
sudo unzip nextcloud.zip -d /var/www/
Don't forget to grant permissions to these folders.
sudo chown www-data:www-data /var/www/nextcloud/ -R
VirtualHost
You would create a config file called nextcloud on both servers to tell apache where to store the nextcloud folder. Two nextcloud files on two servers with the same configuration.
sudo nano /etc/apache2/sites-available/nextcloud.conf
You update the virtual ip address for the config file. In this example, the virtual ip address is 10.11.32.202.
<VirtualHost *:80>
        DocumentRoot "/var/www/nextcloud"
        ServerName 10.11.32.202
        ErrorLog ${APACHE_LOG_DIR}/nextcloud.error
        CustomLog ${APACHE_LOG_DIR}/nextcloud.access combined
        <Directory /var/www/nextcloud/>
            Require all granted
            Options FollowSymlinks MultiViews
            AllowOverride All
           <IfModule mod_dav.c>
               Dav off
           </IfModule>
        SetEnv HOME /var/www/nextcloud
        SetEnv HTTP_HOME /var/www/nextcloud
        Satisfy Any
       </Directory>
</VirtualHost>
Don't forget to save and close the config file you just created.
To the last steps of the article, when you want to access the cloud storage from the internet you will replace the virtual ip address with the domain name.
Then, enable the newly created configuration file on both servers. For the changes to take effect, restart apache2.
sudo a2ensite nextcloud.conf
sudo a2enmod rewrite headers env dir mime setenvif ssl
sudo systemctl restart apache2
Port Forwarding, Domain
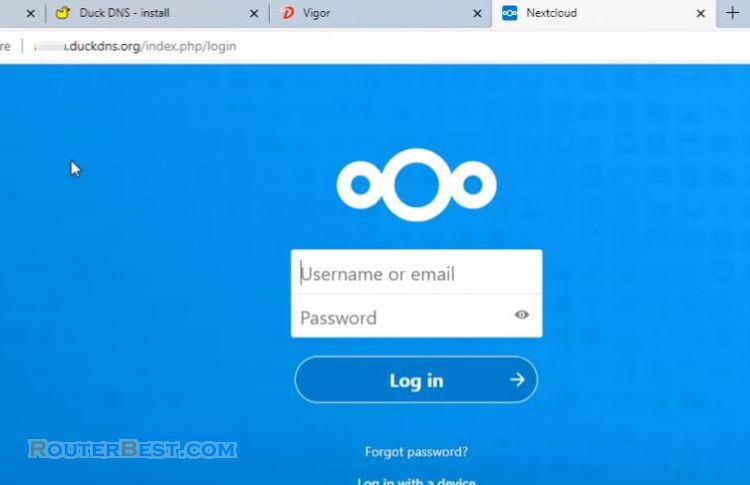
you can use any web browser and access the nextcloud storage cloud with a virtual ip address 10.11.32.202. Here you create a new admin account for your nextcloud.
Then find the information about the previously created database to complete the nextcloud configuration. In the previous step I created a database named nextcloud, username is ncuser and password is 123456.

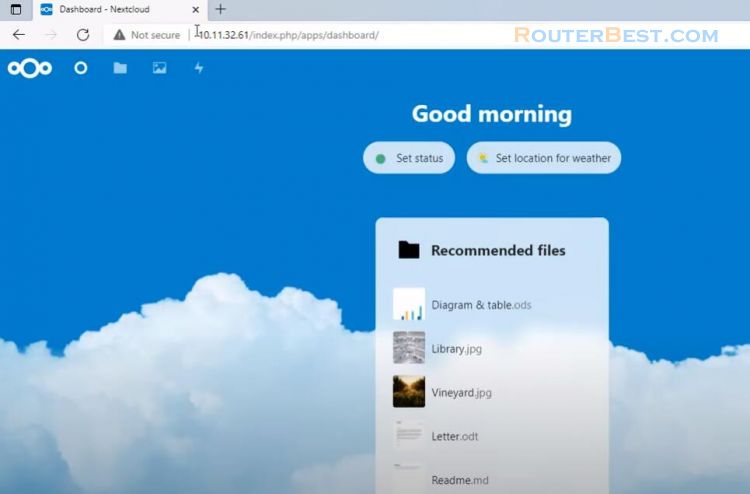
You use the above information so that nextcloud can connect to the database. You need a few minutes to wait for nextcloud to initialize the new storage cloud. I will delete all the data available on the cloud storage, then upload a new file for you to observe the data synchronization between the two servers.
Like here I will upload an image file of a cat and we will see if it syncs with the backup server.

I will power off the main server, so the virtual ip address will be assigned to the backup server. When the main server is down, the backup server will be replaced immediately. As you can see your data has synced to the backup server.
I will upload another photo file of the penguins, Will the data be synchronized when the main server is powered on?
Before testing that I would open the port on the router and use the domain name to access the private cloud hosting anywhere over the internet.
You open port 80 and 443 on your router, The ip address to configure the port opening is a virtual ip address 10.11.32.202.

Next, to get a domain name I use Duck DNS service. Also I have updated my public ip address for that domain. You watch the previous articles to know how to install duckdns on Ubuntu or refer to Duck DNS homepage for how to do it.
That's it, I have finished showing you how to build your own storage cloud with nextcloud. Once you've built your private cloud server, use nextcloud clients on your computer or smartphone to access the cloud from anywhere.
Facebook: https://www.facebook.com/routerbest
Twitter: https://twitter.com/routerbestcom
Tags: nextcloud backup server