Do you want to create your own Windows 11 installer? Do you want your computer to be faster? Do you want your Windows operating system to run smoother?
The default installer you download from the Microsoft website has a lot of useful applications and is suitable for most people. But with a computer that has been purchased for a long time or for a gamer, there are many unnecessary applications such as the old web browser Internet Explore or One Drive.
In this article, I will show you how to create a compact Windows installer that removes the applications that you do not want on your own Widnows 11 operating system.
Download Windows 11
Please refer to this article for specific operation: How to Install Windows 11 from another hard drive
MSMG Toolkit
To customize Windows 11 iso file, you need MSMG Toolkit. Download URL: http://msmgtoolkit.in/downloads.html
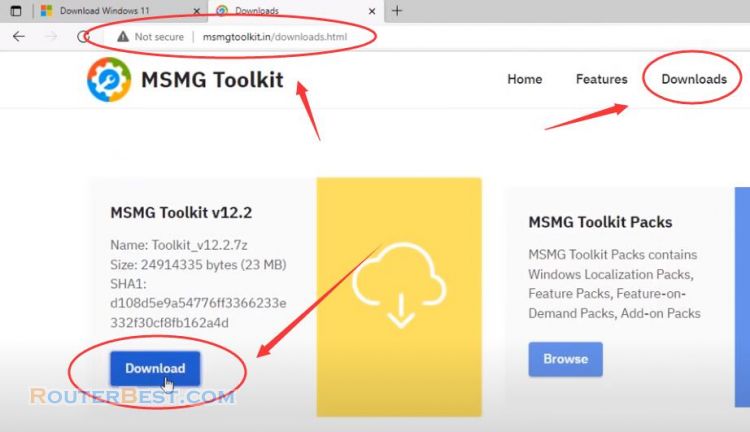
You install 7 zip software to extract the downloaded file. The msmg software has a command line interface but is very simple to use. You just need to do the software's suggested options. I have tried some software with graphical interface and I find it more difficult to use than msmg. So I choose msmg to introduce to you.
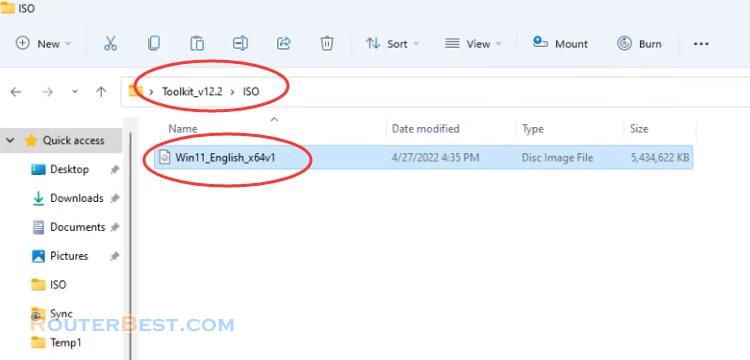
First, you copy the iso file of the Windows 11 operating system and paste it into the folder named "iso" of the msmg software.
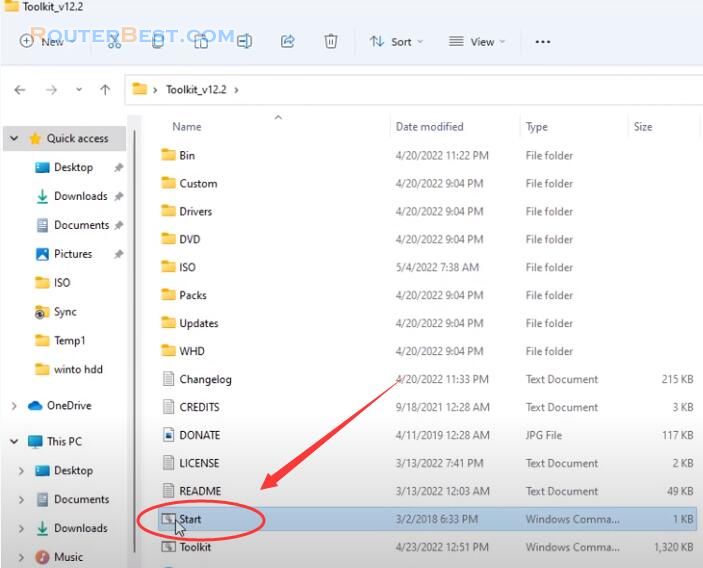
You open the msmg software by clicking on the "Start" file.
A command line interface appears and you follow the instructions of the software, enter "A" in the Blue interface. This is the main screen of the software with 7 options, we do it from top to bottom.
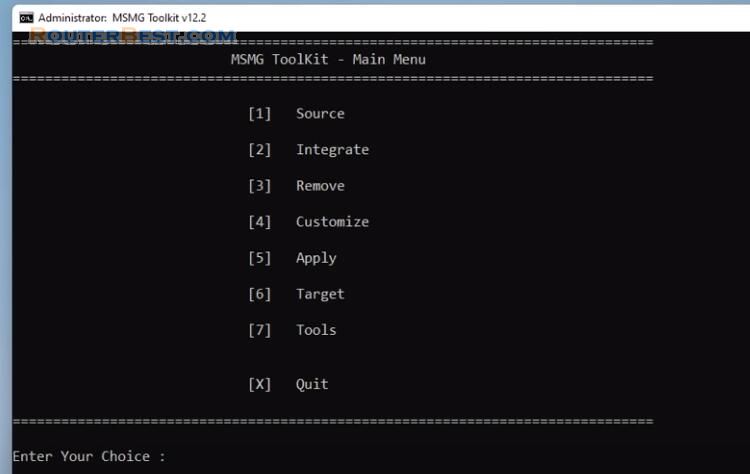
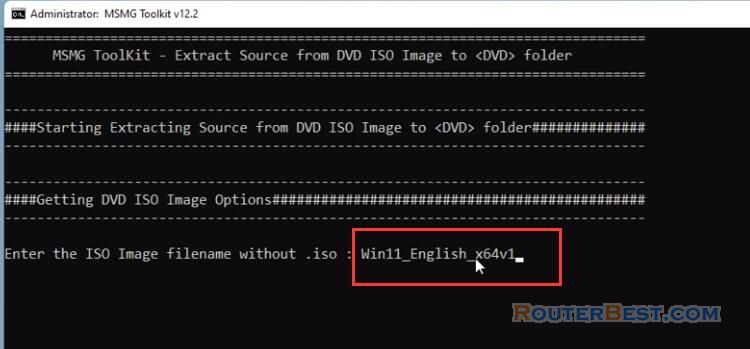
First you choose the "source" to extract the iso file of the Windows 11 operating system. Press "1 ( Source )" > "3 ( Extract Source from DVD ISO Image )". If you have many iso files, the software asks you to choose the file you want to extract so you enter the name of your iso file.
For simplicity I copy the iso file name and paste it in the command window.
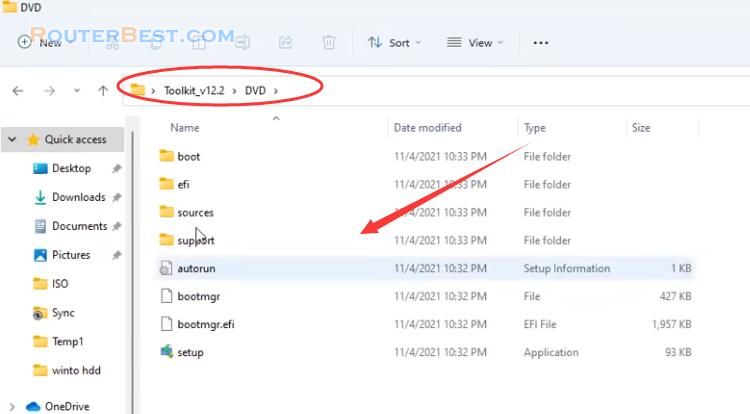
After extracting, open the folder named DVD and you will see the extracted files appear here. We will use the extracted files to customize the Windows 11 installer.
So you choose the source as the DVD folder. Press "1" ( Source ) > "1" ( Select Source from <DVD> folder ). With the default installer of Windows 11 will give you 11 installation versions, I like the Pro version so I'm choosing number 6.
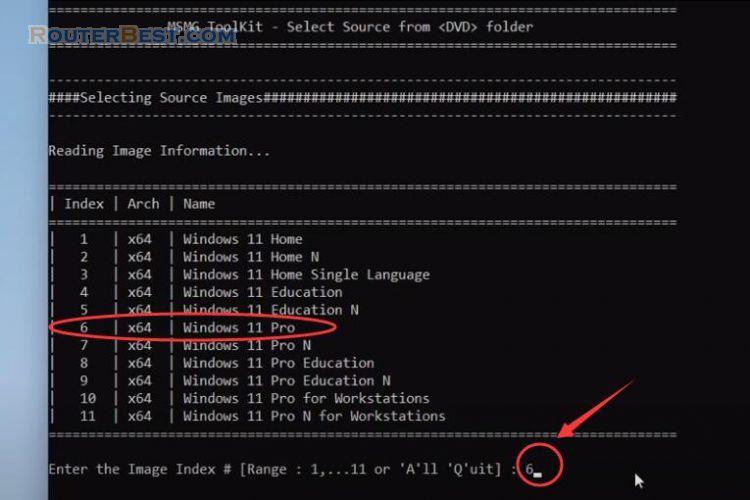
Then press "Y" > "Y".
Selecting the components you want to remove
Next you press number 3 to remove the applications that you do not want in your Windows 11 operating system. Press "3" ( Remove ) > "1" ( Remove Windows Components ).
Before removing components of Windows 11 you need to select the components that you want to remove. Press "1" ( Select Windows Components ).
The first is a web browser, by default there will be two web browsers I will remove one and keep one. I got rid of the old Internet Explorer web browser and I don't use it anymore. Press "1" ( Internet ) > "2" ( Internet Explorer ). Then, press "X" to go back.
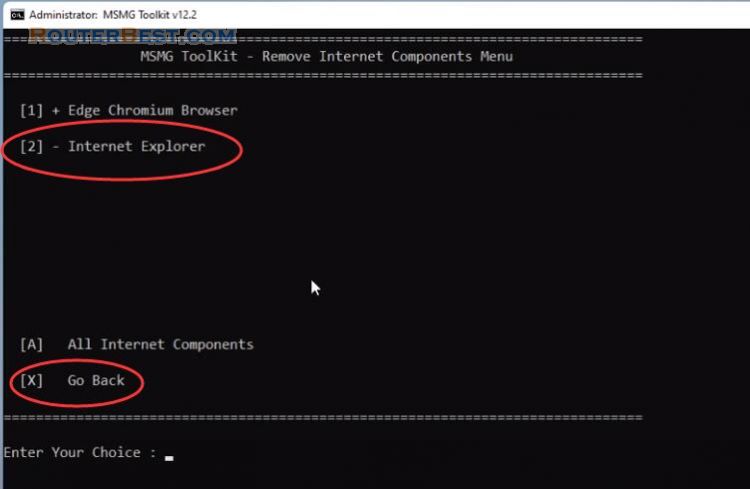
Next is the rest of Windows 11 components. Press "2" ( Multimedia ) > "A" ( All Multimedia Components ), then press "A" to go back.
MSMG toolkit divides Windows 11 components into 8 different parts for you to easily choose. Let's go from top to bottom to choose want to remove. I really had a hard time choosing the components I wanted to remove with other GUI software. Although msgm has a command line interface, customization is easy for me.
I will browse the remaining components of Windows 11 to find what I want to remove. If you want to remove them all, just press A or number 1 as instructed below.
Press "3" ( Network ) > "A" (All Network Components), then press "A" to go back.
Press "4" ( Privacy ) > "A" (All Privacy Components), then press "A" to go back.
Press "5" ( Remoting ) > "A" (All Remoting Components), then press "A" to go back.
Press "6" ( System ) > "A" (All System Components), then press "A" to go back.
For me, I removed most of the components of the Windows 11 operating system, leaving only the Microsoft Edge web browser, because I want a computer with high performance and smooth use.
Press "7" ( System Apps ) > "A" (All System Components), then press "A" to go back.
You browse the components from top to bottom to avoid confusion or forgetting the components you want to remove.
Press "8" ( Windows Apps ) > "A" (All Windows Apps Components), then press "A" to go back.
I recommend you keep apps you use often like weather, calculator or notepad.
Remove the components you selected
After selecting the components you want to remove, go back to the previous screen and follow the steps below. This step will help you to remove the components you selected in the previous step. Pending on the number of your selections more or less, the time will be fast or slow.
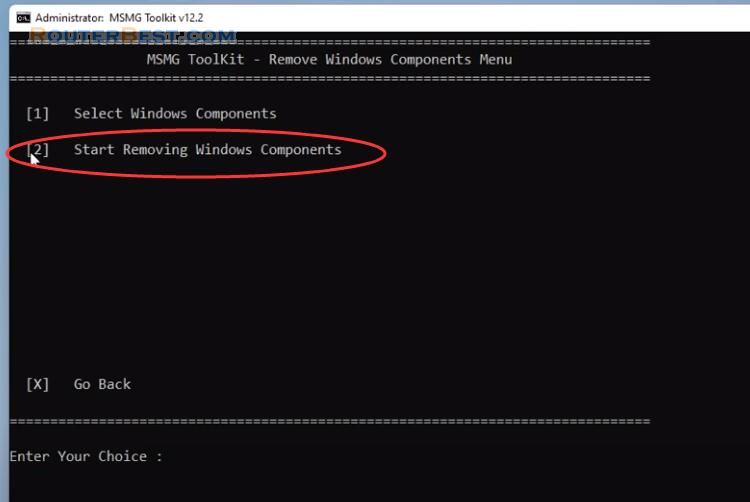
After you have removed the components as you want, you go back to the main screen and enter the number 5 for the changes to be applied. Press "5" ( Apply ) > "2" ( Apply & Save changes to Source Images ) > "Y" (Yes) > "Y" (Yes).
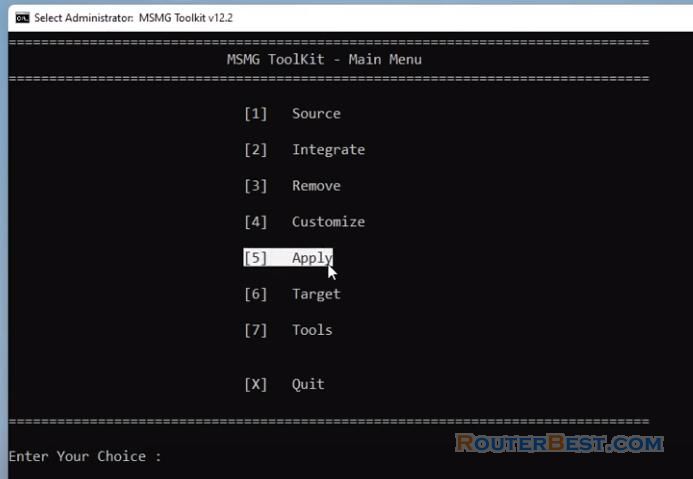
If you change a lot from the original file, the customization time will be longer. And here is the step to create your own iso file. This step will help you create the Windows 11 installer you want.
Press "6" ( Target ) > "1" ( Make a DVD ISO Image ). You name the new iso file as you like. This iso file is your result after removing the components of the Windows 11 operating system.
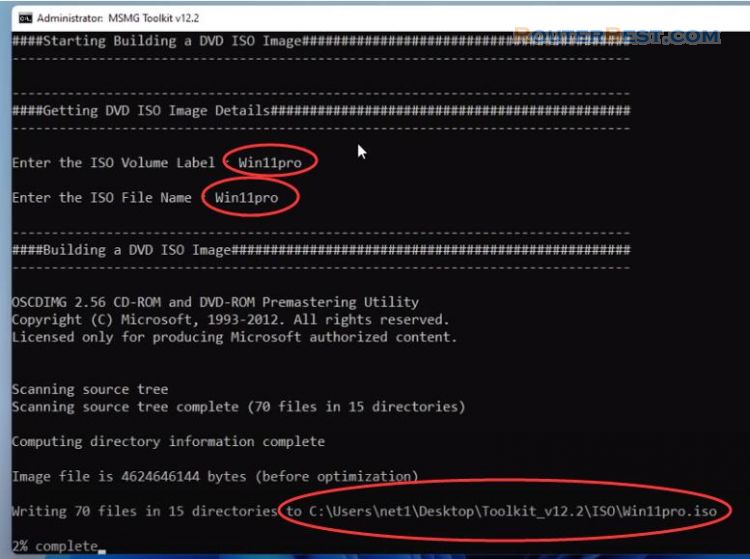
The new iso file is about 1GB smaller than the original file. Next, you just need to create Windows 11 bootable USB to install on the target computer.
Rufus
A familiar and easy-to-use app for doing that is Rufus. You open rufus select the iso file you just created to create a bootable windows 11 usb stick.
The specific use of rufus in this article: 4 Steps to create Automatic Windows 11 / 10 Installer
Next I will plug this USB stick into the target computer and install. You finally have a customized Windows operating system to your liking.
Facebook: https://www.facebook.com/routerbest
Twitter: https://twitter.com/routerbestcom
Tags: Windows 11 MSMG Toolkit Rufus

