This article explains How to install Snipe-IT on a Virtual Machine. You are confused when managing information technology devices. You can't remember who you gave those devices to, since when, still under warranty or not. If you have that problem, then you need a management software to solve it.
In this article I will introduce you to the software that is Snipe-IT. Snipe-IT is open source software that runs on linux operating system so i will guide you to install it on virtualized environment.
Download & Install VirtualBox and Ubuntu Server
The hypervisor I use is VirtualBox, you can use VMWare or hyper-V also.
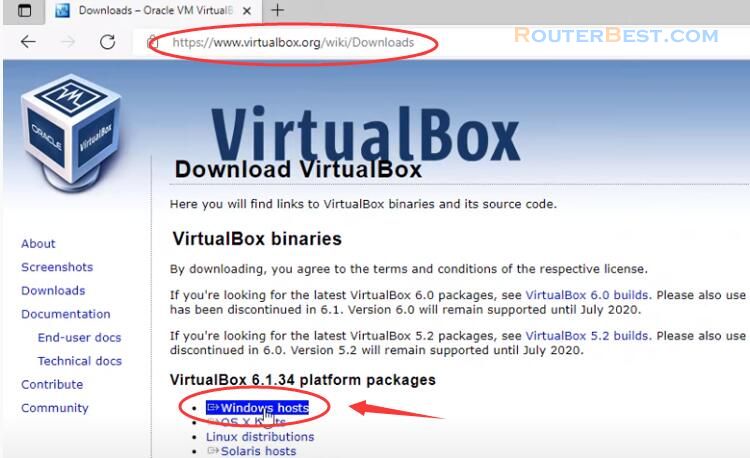
The Linux operating system used in this article is Ubuntu. After installing VirtualBox hypervisor and downloading the Ubuntu 20.04 iso file.
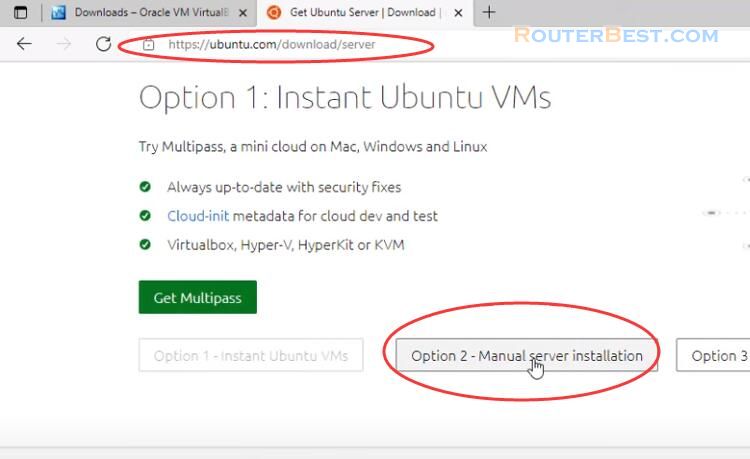
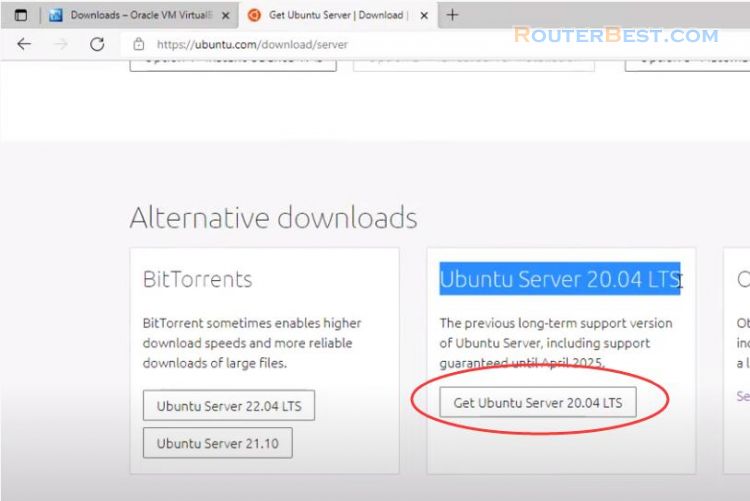
The specific steps for installing Ubuntu operating system are shown in this article: 3 Steps : Create Free Network Monitoring Tool Using LibreNMS
I created a new virtual machine. You set up the virtual machine's network in bridge mode so that other computers on the same local network can access your snipe it software. The most important thing when installing an ubuntu virtual machine is to assign it a static ip address. Because you will use this static ip address to access the snipe it software from the real computer or other computers on the local network.
During the installation of the Ubuntu virtual machine you are asked to create a new account, please write it down to use in the next step. The installation of OpenSSH server is necessary because you will use it to install snipe it in the next step. The setup steps are done, wait a few more minutes for the installation to complete. After the installation is complete and the virtual machine restarts until the login screen appears, move on to the next step.
Because you have OpenSSH server enabled for your virtual machine, you can remotely access it using the account you created while installing Ubuntu. You open a command window enter your username, ip address and finally enter the password of the account you just created. Here you will be overwhelmed with so many commands to do, but it's okay to do them one by one, from top to bottom.
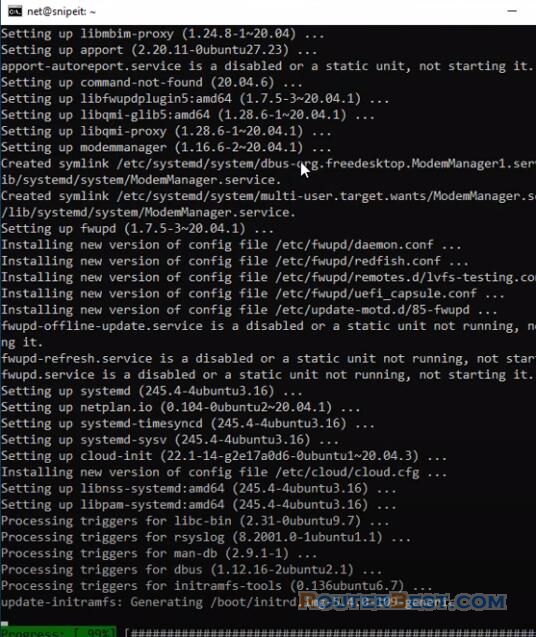
Install LAMP (Apache, MySQL, PHP)
And even simpler, just copy and paste the commands like I will do in the next part of this article.
Before I install snipe-it i need to prepare a web server so i will install the popular web server software apache.
sudo apt update && sudo apt -y upgrade
sudo apt install -y apache2
With a software, a database is indispensable and I choose MariaDB.
sudo apt install -y mariadb-server mariadb-client
sudo apt install -y php
sudo apt install -y php-{common,mysql,xml,xmlrpc,curl,gd,imagick,cli,dev,imap,mbstring,opcache,soap,zip,intl}
Install Snipe-IT on Ubuntu
Install Dependencies
Finally PHP and a lot of modules included, I don't understand all these included modules and you can just copy and paste. Because of the requirements of the snipe-it software, you need to install additional php extensions.
sudo a2enmod rewrite
sudo apt install -y php-{opcache,pdo,bcmath,bz2,calendar,ctype,exif,ffi,fileinfo,ftp,gd,iconv,intl,json,mbstring,mysqli,phar,posix,readline,shmop,sockets,sysvmsg,sysvsem,sysvshm,tokenizer,zip,curl,ldap}
You restart the apache software to apply the changes.
sudo systemctl restart apache2
Install PHP Composer
The snipe it software requires a PHP composer so you download and install it.
curl -sS https://getcomposer.org/installer | php
sudo mv composer.phar /usr/local/bin/composer
Create a Database
Next is the database, you create a new database called "snipeit". Username is "snipeuser" and password is "password". You write this down so snipe it can connect to your database in the next step.
sudo mysql
CREATE DATABASE snipeit;
CREATE USER 'snipeuser'@'localhost' IDENTIFIED BY 'password';
GRANT ALL PRIVILEGES ON snipeit.* TO 'snipeuser'@'localhost';
FLUSH PRIVILEGES;
Install Snipe-IT
Now that you have the web server, database, and necessary components, you need to install snipe-it. You download snipe it and create a new folder called "snipe-it".
cd /var/www/
sudo git clone https://github.com/snipe/snipe-it snipe-it
Snipe-it gives you a sample config file so you can copy it into a config file of your own.
cd /var/www/snipe-it
sudo cp /var/www/snipe-it/.env.example /var/www/snipe-it/.env
sudo nano /var/www/snipe-it/.env
Next, you use the information prepared in the previous step to configure your own snipe-it software. You configure the URL with your static ip address, here my static ip address is 10.11.32.82. Next you set the time zone that is suitable for where you live. You go back to the previous step to find the information about the newly created database and add it to your installation file. In this example the database name is "snipeit", the username is "snipe-user" and the password is "password".
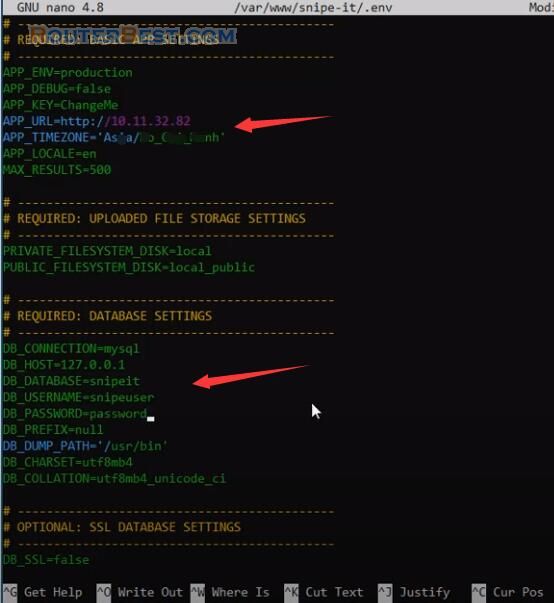
After fully updating the information, use the key combination "Crtl + X", then select "Yes" to save the changes. Next, configure ownership and permissions with your snipe it folder.
sudo chown -R www-data:www-data  /var/www/snipe-it
sudo chmod -R 755 /var/www/snipe-it
sudo apt-get install -y unzip
After you install the dependencies using composer you will get some warnings but that's normal. You choose "yes" when asked.
sudo composer update --no-plugins --no-scripts
sudo composer install --no-dev --prefer-source --no-plugins --no-scripts
In addition, you will also be asked to enter a password for your Ubuntu account, if you have one, please provide it. Next you will generate a key for the snipe it configuration file and enter yes when asked to choose.
sudo php artisan key:generate
sudo nano .env
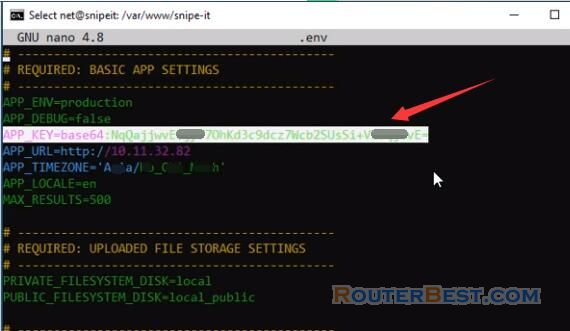
That's it, you have configured snipe it, next you create a configuration file for your new website. This new website will help you access the snipe it software and use it.
Create a Virtual Host File
sudo a2dissite 000-default.conf
sudo nano /etc/apache2/sites-available/snipeit.conf
Here you enter your static ip address then copy the config file as follow:
<VirtualHost *:80>
    ServerName 10.11.32.82
    DocumentRoot /var/www/snipe-it/public
    <Directory /var/www/snipe-it/public>
        Options Indexes FollowSymLinks MultiViews
        AllowOverride All
        Order allow,deny
        allow from all
    </Directory>
</VirtualHost>
Don't forget to save the config file you just created. You disable the default apache config file and enable the config file you just created for snipe-it.
sudo a2ensite snipeit.conf
sudo systemctl restart apache2
It's time to enjoy the results after 15 minutes of installation.
You use any web browser and access the snipe it software with your ip address.
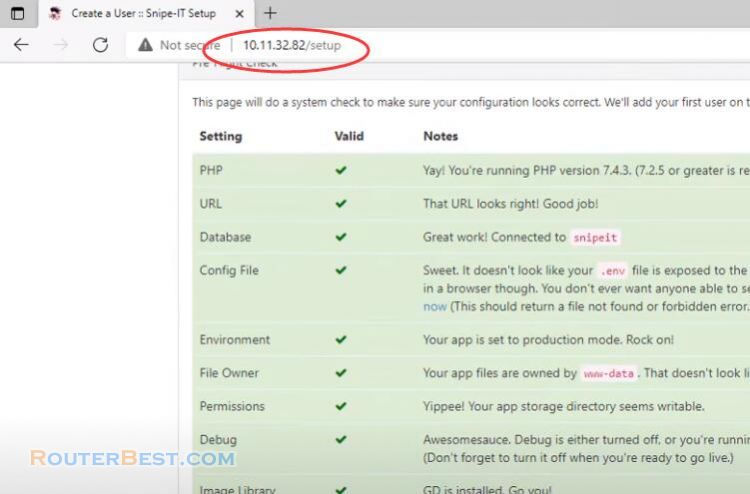
A screen of the snipe-it software has appeared like it was successful. Here you will be asked to create an admin account for your software. Please write it down to use snipe it in the future operation. And here's the result we've been waiting for.
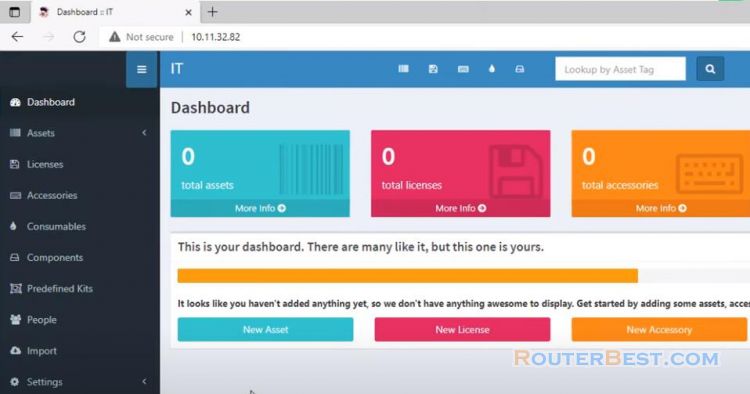
Next step I will add an IT device and assign a user. With the first time adding a new device to manage the information you will need to add quite a lot such as: company name, manufacturer, catalog, distributor, model, user name. But once you have entered certain devices, your work becomes easier and easier.
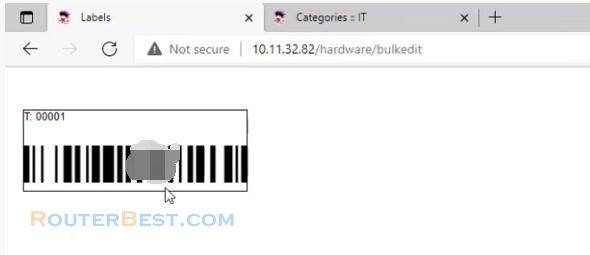
In addition, the software also supports you to import information from the file. You will find it really useful once you use it for a while. You can generate QR codes and barcodes for your device. To print these device codes you use brother printers. In this article I add a new laptop made by Dell and given to others to use.
Facebook: https://www.facebook.com/routerbest
Twitter: https://twitter.com/routerbestcom
Tags: Snipe-IT Ubuntu Virtualbox

