In this article you will learn how to create VLAN IP DHCP NAT and configure it on mikrotik router, so that computers can connect to the internet.
Let's start with an example of a small Network.

Step 1 : Name the Interfaces for easy distinguishing
Go to "Interfaces".


Step 2 : Create WLAN & Assign to Interface
We will create two vlans that are 30 and 40, then assigned them to the interface named lan.
vlan30
VLAN ID : 30
Interface : lan

vlan40
VLAN ID : 40
Interface : lan

Step 3 : Assign IP addresses to the VLAN interfaces
Go to "IP" > "Addresses", add a new IP address.
Address : 192.168.30.1/24
Network: 192.168.30.0
Interface: vlan30

Add another IP address:
Address : 192.168.40.1/24
Network: 192.168.40.0
Interface: vlan40

Step 4 : DHCP Setup on Mikrotik Router
Go to "DHCP" then go to the "DHCP server" to set up DHCP.

Click "Next" button to set up "dhcp1" and "dhcp2".

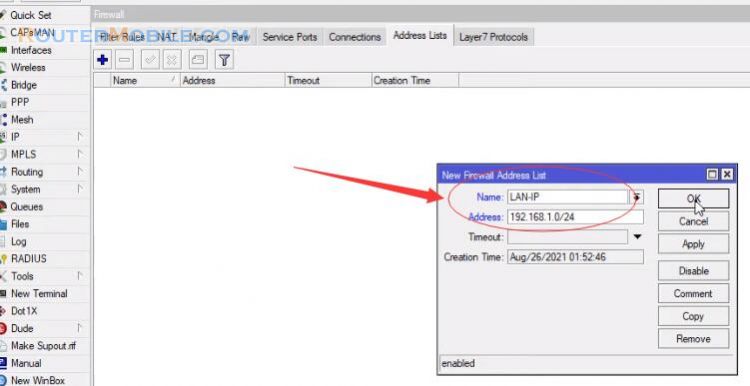
Step 5 : Setup NAT on Mikrotik Router
Go to "IP" > "Firewall", add a new NAT rule.
Chain : srcnat
Out.Interface : wan
Action : masquerade

The steps are done now try the results with computers connected to different vlans.

Facebook: https://www.facebook.com/routerbest
Twitter: https://twitter.com/routerbestcom