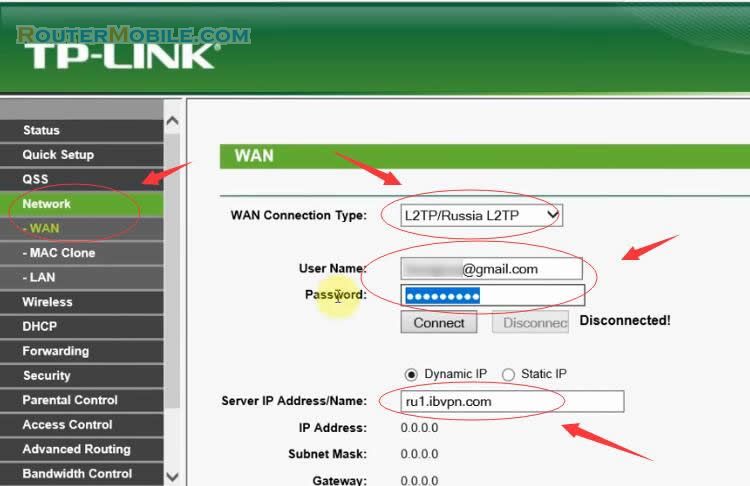
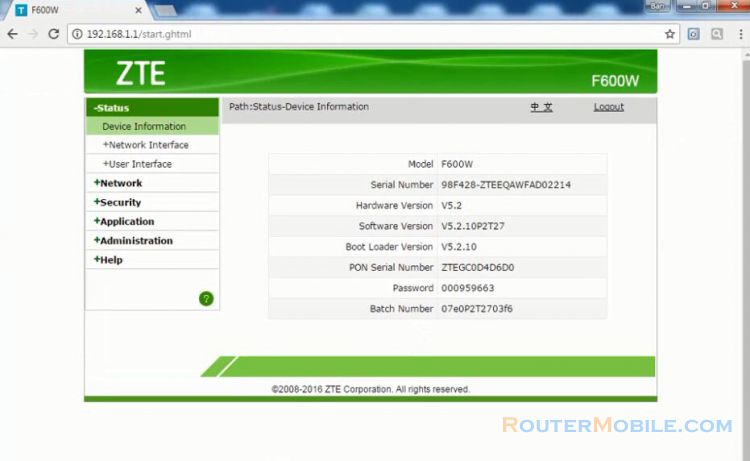
This article explains How to configure Port Forward DMZ on the TP-LINK TL-WR741ND TL-WR740N. Its management IP is 192.168.1.1 or 192.168.0.1.
Step 1 : Log in TP-LINK TL-WR741ND TL-WR740N wireless router
Open a web-browser (such as Microsoft Internet Explorer, Google Chrome, Mozilla Firefox or Apple Safari). Enter the ip address of TP-LINK TL-WR741ND TL-WR740N wireless router: 192.168.1.1 or 192.168.0.1.
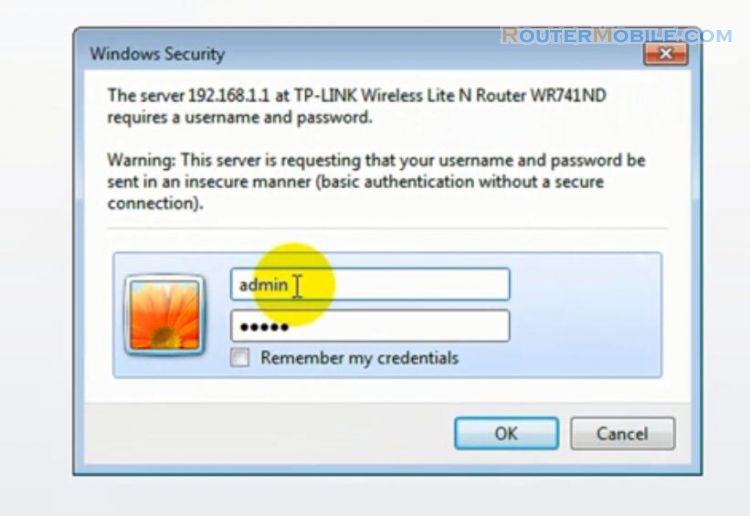
Username : admin
Password : admin
Step 2 : Port Forward Setting on TP-LINK TL-WR741ND TL-WR740N router
Click : Forwarding -> Virtual Servers -> Add New
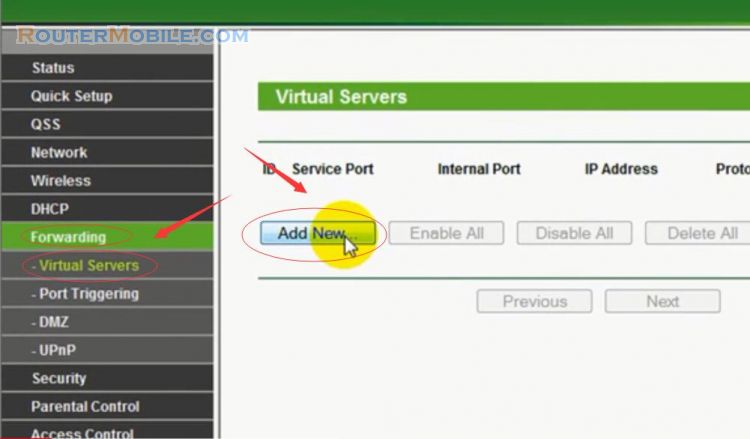
Service Port : The numbers of Extended Service Ports. You can enter a service port or a range of service ports.
Internal Port : The Internal Service Port number of the PC running the service application.
IP Address : The IP address of the PC running the service application.
Status : Enabled.
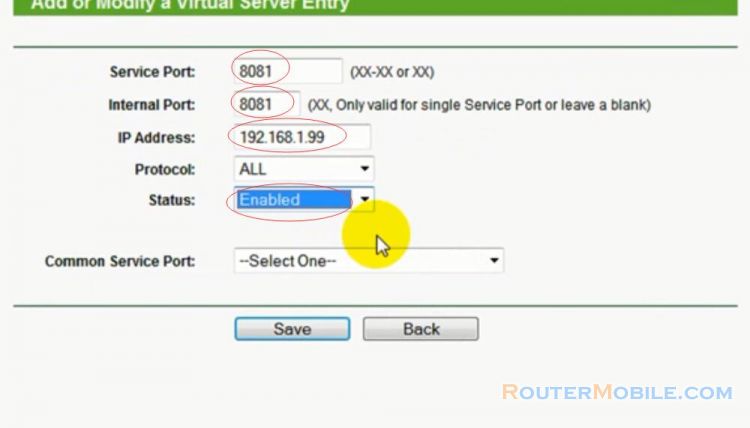
Click the "Save" button to save your settings.
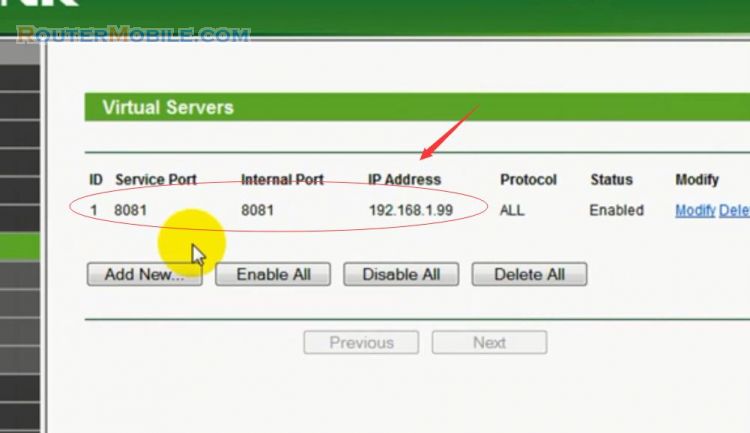
Step 3 : DMZ Setting on TP-LINK TL-WR741ND TL-WR740N router
Click : Forwarding -> DMZ
The DMZ host feature allows one local host to be exposed to the internet for a special-purpose service such as internet gaming or video conferencing. The Device forwards packets of all services to the DMZ host. Any PC that is set to be DMZ host must have its DHCP client function disabled, and should have a new static IP address assigned to it, because its IP address may change when using the DHCP function.
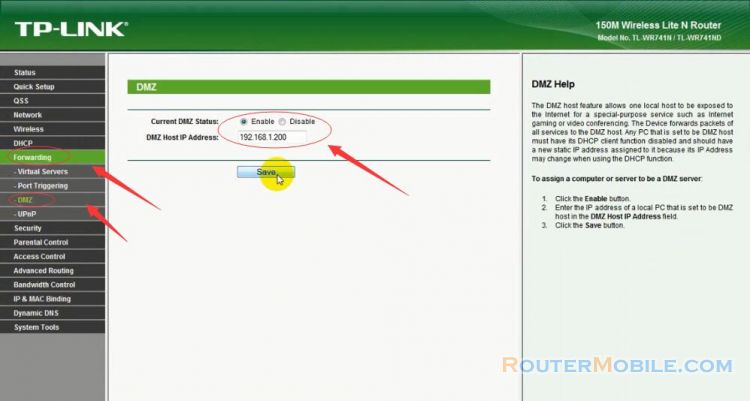
To assign a computer or server to be a DMZ server:
1. Click the Enable button.
2. Enter the IP address of a local PC that is set to be DMZ host in the DMZ Host IP Address field.
3. Click the "Save" button.
Facebook: https://www.facebook.com/routerbest
Twitter: https://twitter.com/routerbestcom


