In this article, I will show you how to install QNAP NAS on VMWare hypervisor. This way you will turn a virtual machine into a NAS device with Qnap's pretty cool applications. I would like to warn you in advance that the installation process is quite slow, it will take about an hour and a half to install the Qnap virtual machine.
Keywords : how to install qnap nas on vmware, how to install qts on vmware, how to create qnap nas virtual machine, install qnap on vmware, how to create qnap virtual machine, qnap nas vm, qnap vm vmware, qnap nas, qts, qnap 5.0, try qnap nas with vmware, experience qnap nas with vmware.
Download VMDK Boot Disk
First you download the Qnap boot file. The file has the extension vmdk and is about 700MB.
https://mega.nz/folder/LJ4wyaDY#MxOC2UgNqC-Y6gQXu-IUFA
I already downloaded this file to my computer and then extracted it to my desktop. After getting the boot file, you create a new virtual machine on VMWare.

Create a new virtual machine
Please note the steps to create a virtual machine, because it determines the success of the Qnap installation process on VMWare.
Give the virtual machine any name you want.
Store virtual disk as a single file.
Next you edit the hardware settings for the virtual machine, I increase the RAM memory to 6GB.
Remove the default hard drive of the virtual machine, then remove the CD/DVD because it is not needed.
You configure the network as a "bridge" to connect to your real network.
Next is to add hard drives for the virtual machine.
The first hard drive to add is the boot hard drive so you use the qnap boot file downloaded in the previous step. That is the file with the extension vmdk after it is unzipped.
The connection type of the boot hard drive is "IDE".
Next, you create at least one more hard drive for Qnap's storage needs. Store virtual disk as a single file. Here I add a hard drive with a capacity of 200GB, the connection type is "SATA".
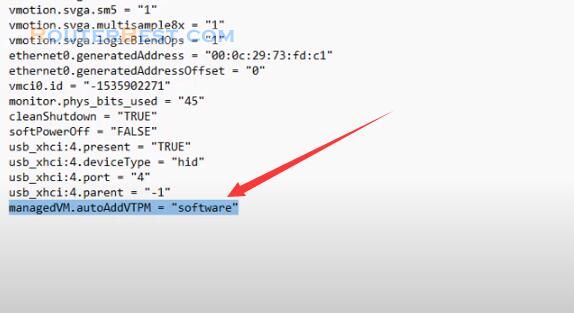
An important thing is that you edit the virtual machine's network card from e1000 to e1000e. Otherwise the Qnap virtual machine will not receive an ip address from the DHCP server and you will not be able to connect to the NAS device.

You open the folder where the virtual machine is stored and open the file with the extension vmx using NotePad.

You change "e1000" to "e1000e". Don't forget to save the file. This step is done after the network configuration step in bridged mode.
Virtual machine is ready, let's install Qnap.
Install Qnap
You start the virtual machine and press the down arrow button repeatedly on your keyboard. You choose to start from "system rescue production". After a while you will boot into Tinycore.
Next you open the command window, you check the ip address with the command "ifconfig". You need to make sure your virtual machine has an internet connection. To know that you use the "ping" command to check.

So my virtual machine has an internet connection, what do we do next?
You edit the qnap configuration file with the command "vi ./my_create_qnap_boot". By default the configuration file will download version 4.4.2 of qnap so you need to edit it to get a newer OS version. You use the "i" key to start editing the configuration file.
MODEL_TYPE="QY380_QY390_10_11"
PATCHED_FIRMWARE="TS-X85_20211114-5.0.0.1853"
DOWNLOAD_URL="https://eu1.qnap.com/Storage/TS-X85/"
You edit the OS version to 5.0.0. After editing, use the "ESC" key to exit and then use ":wq" to save and exit.

Next you use the command "sudo ./my_create_qnap_boot" to download the operating system and create a boot disk. When you receive the success message, use the "sudo reboot" command to restart the virtual machine.
It will take about 10 minutes to restart the virtual machine. When the ip address appears, the virtual machine has finished booting. My virtual machine ip address is 10.11.32.192.

Configure Qnap
You open any web browser and access qnap with the ip address given above. Skip the firmware update step.
You will be asked to create an admin account and cannot use the admin account as admin. You write down this admin account to access qnap in the next steps.
I recommend you to set a static ip address for qnap, because that will make it easier for you to access the virtual machine.
Next, configure gateway, dns to help connect qnap to the internet. Be more careful, you write down this ip address to access in the next step.

If you forget your ip address you can use Qnap Finder to find NAS devices in your network. It will take about 10 minutes for the initial settings to complete so please wait patiently.
A login screen appears, use the administrator account created in the previous step to access Qnap.
First you need to make sure that the virtual machine has detected the hard drive. Because I only created a single hard drive for the virtual machine, Qnap only detected one hard drive.

You can create multiple hard drives for your virtual machine. Some settings won't work properly if you don't restart the virtual machine, so I recommend restarting. It will take about 15 minutes to restart the virtual machine.
Every time the Qnap virtual machine starts up, it's a real test of my patience. It is easier to tell when the virtual machine has finished booting by looking at the virtual machine's command screen.
Qnap has an interesting app store for you to explore. There are many useful apps for everyone.

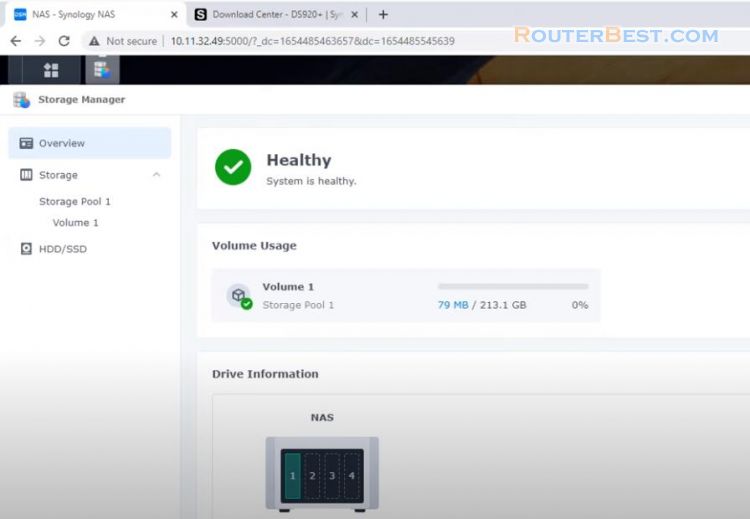
Next is the storage configuration, an integral part of any NAS device.

So I have introduced how to install Qnap on VMWare hypervisor.
Facebook: https://www.facebook.com/routerbest
Twitter: https://twitter.com/routerbestcom